PUBLISHED: Nov 3, 2018
UPDATED: Nov 6, 2018
CAUTION:
Electrostatic Discharge (ESD)
All microcontroller and digital Integrated Circuit devices are sensitive to ESD, they may be destroyed by it instantly. Before unboxing or removing them in protective anti-static packaging, please ground yourself to a metal chassis or doorknob or wear an anti-static gloves.
RAM Modules, Motherboards, Hard Disk Drives, Solid-State Drives and Video Cards are vulnerable to ESD!
Unplug all power before operating with the motherboard!
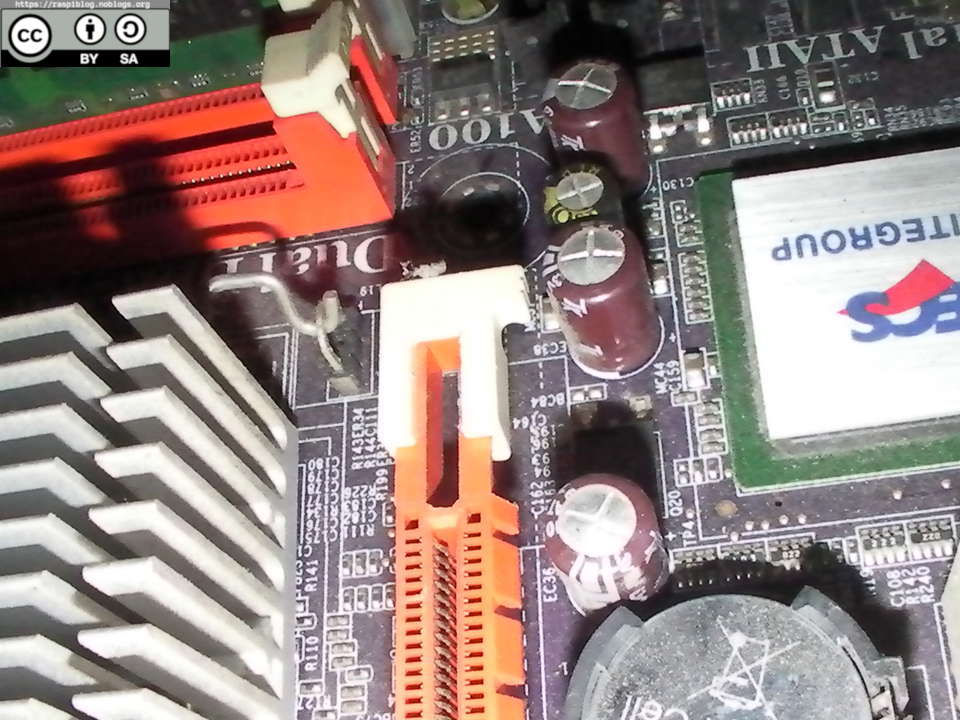
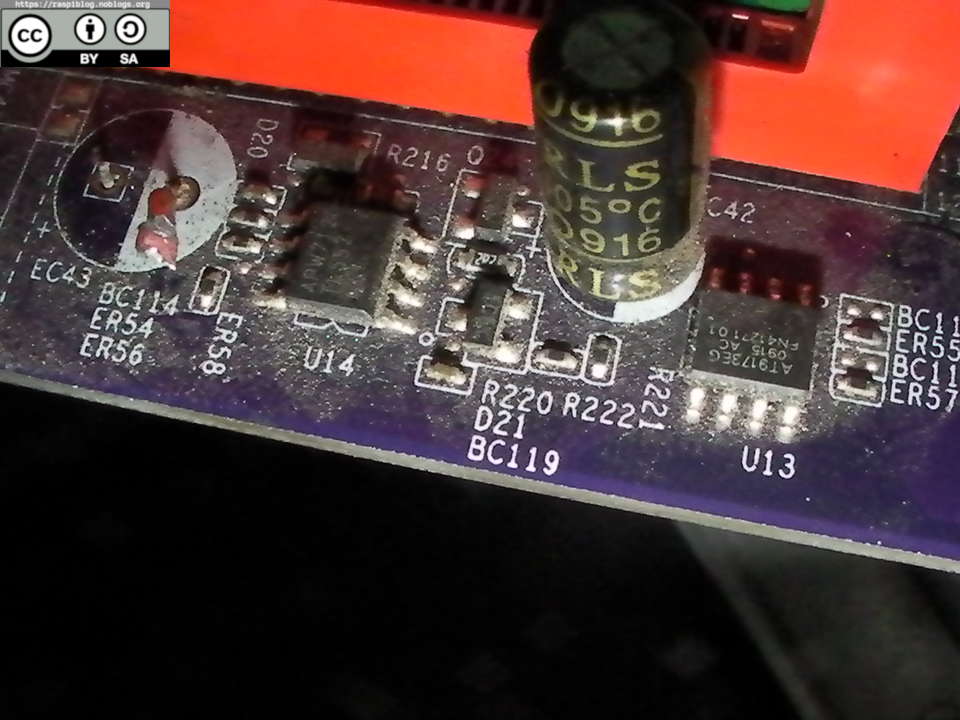
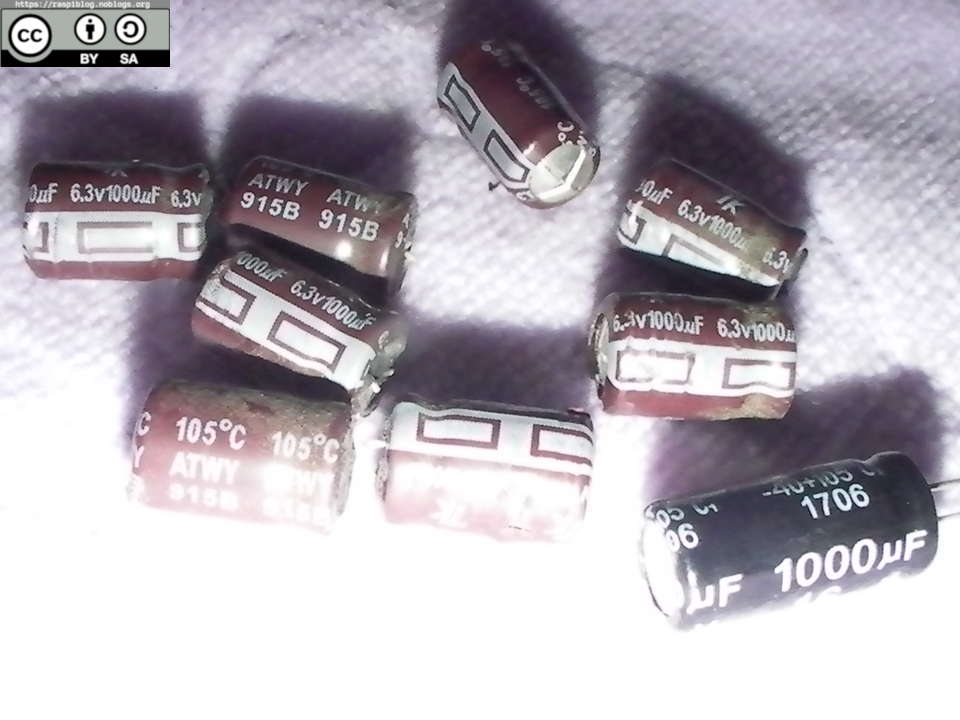
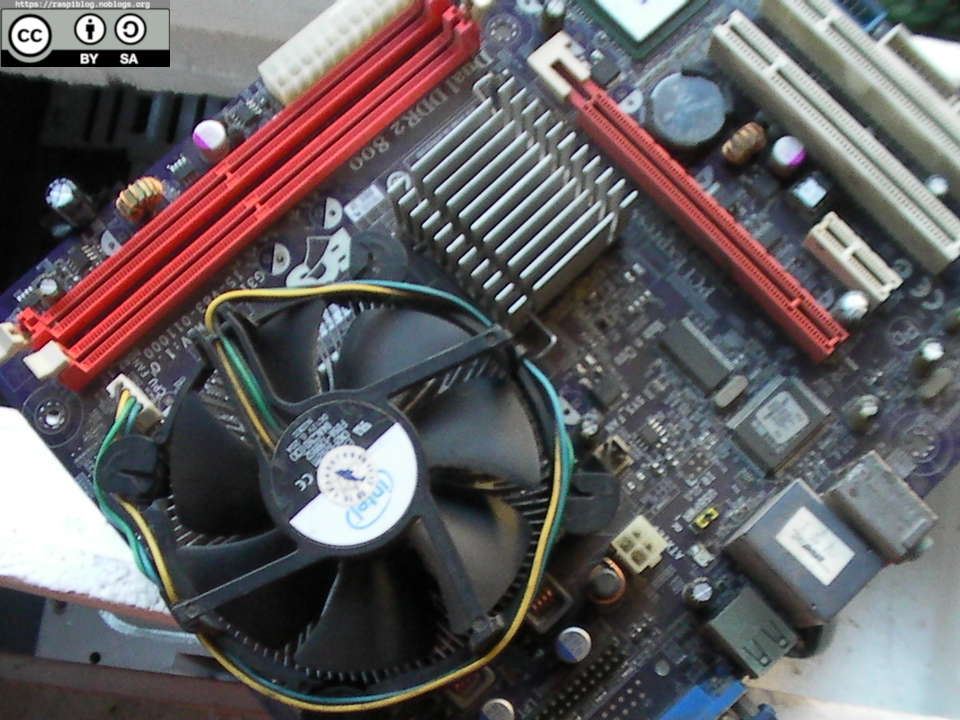
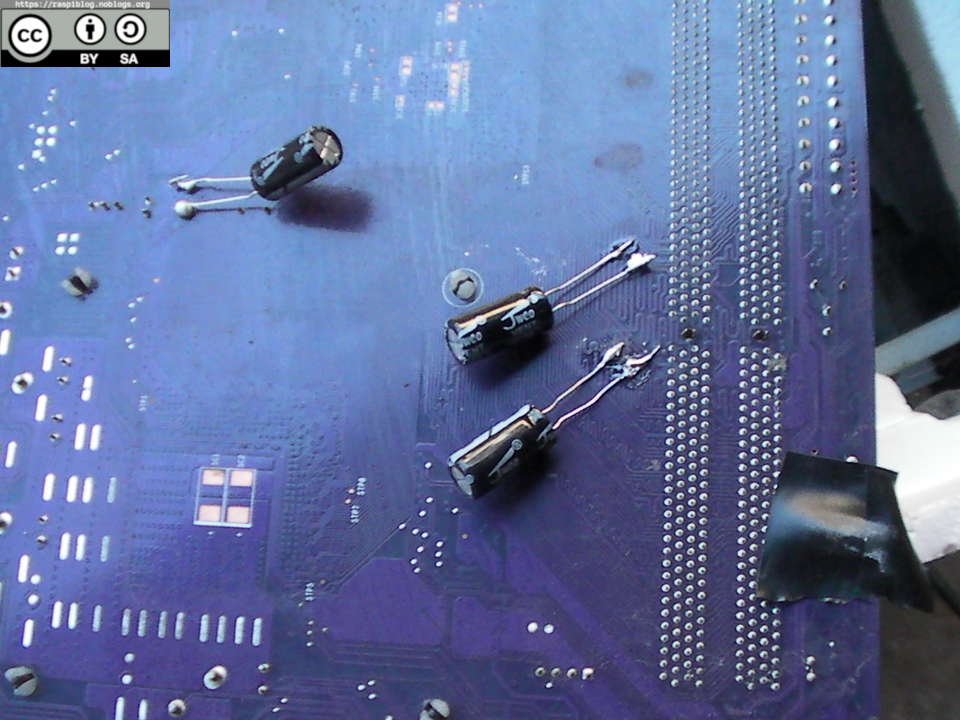
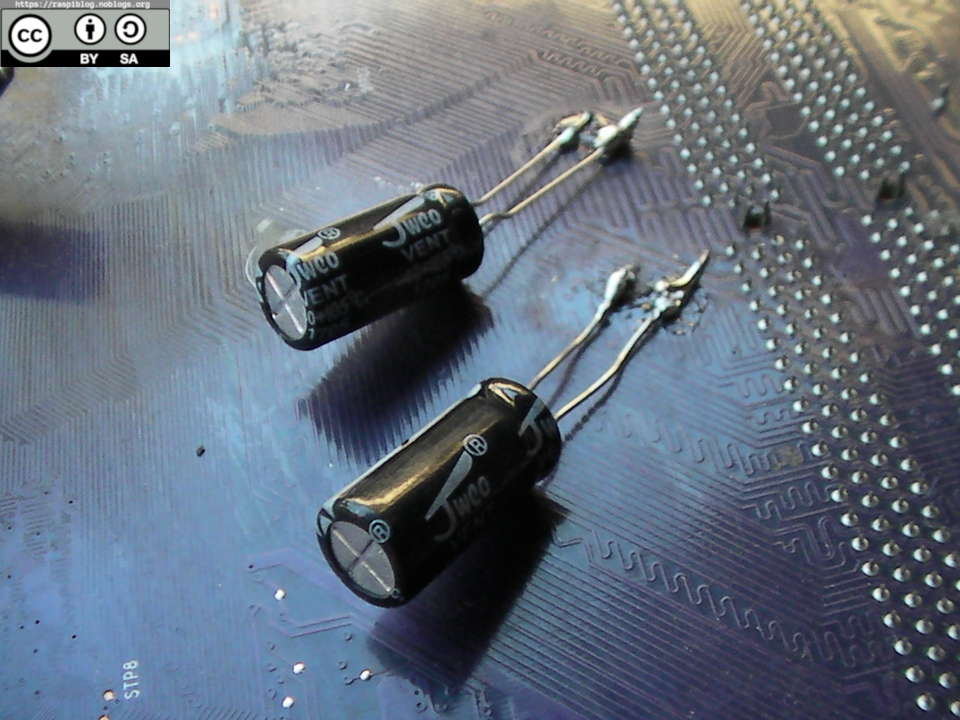
My primary computer has failed, it no longer boots up and I’ve already replaced the Power Supply Unit with a new one. Tried a different video card (PCI-e) and Disconnected HDD. Cleaned the RAM module using a Pencil Eraser and still nothing. I noticed that there are bulging capacitors on the motherboard, and they are all 6.3V 1000uF, some of them are already leaking brownish substances (electrolyte).
REMOVING BULGING CAPACITORS:
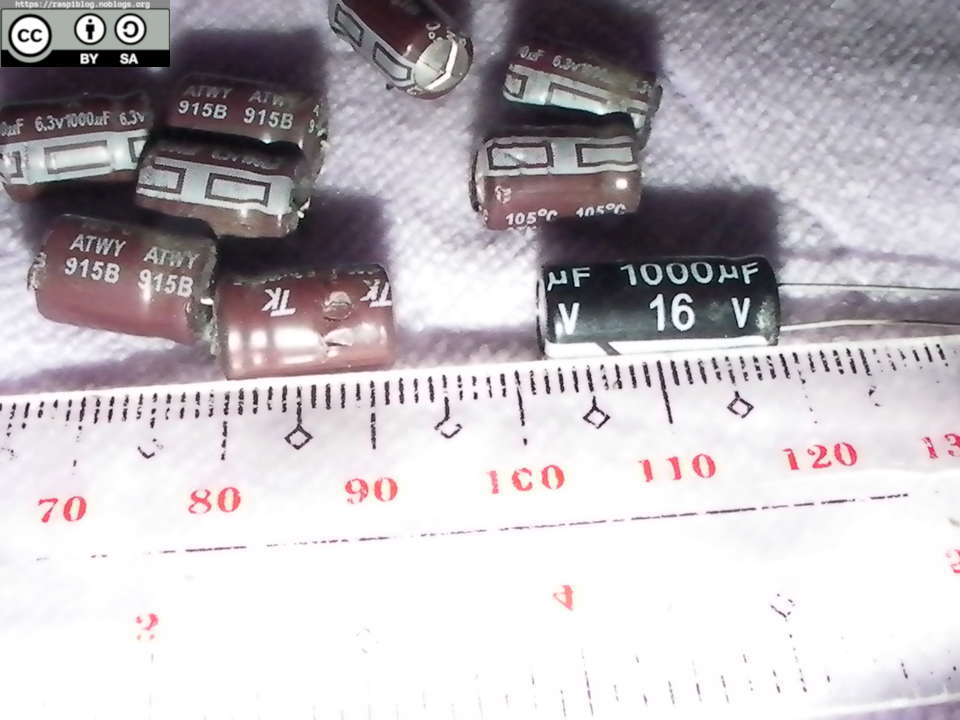
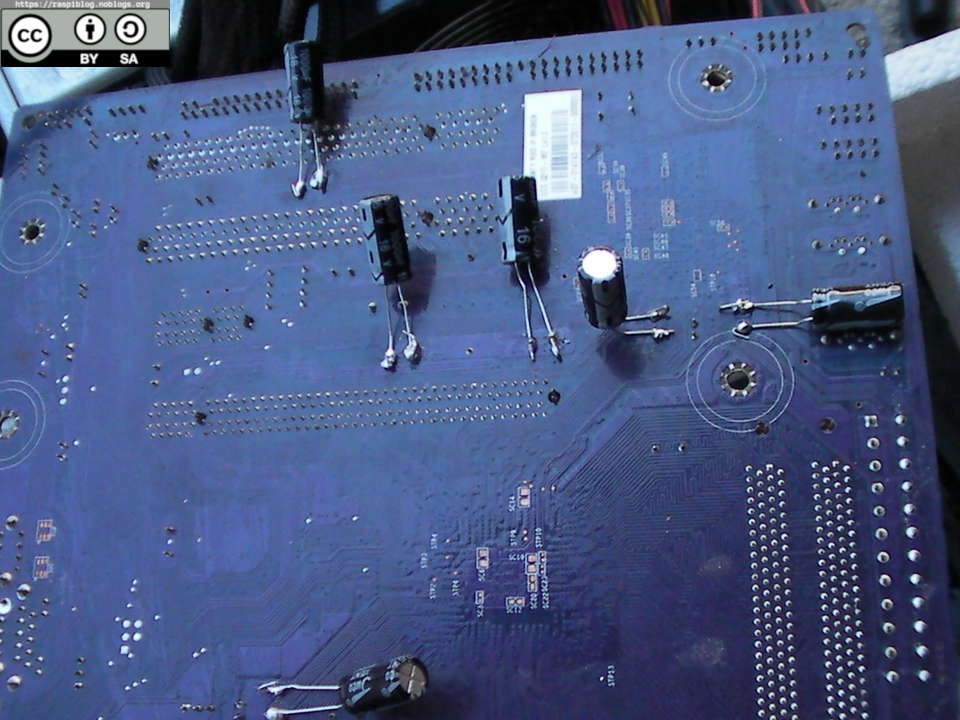
It appears that the capacitors are from the 21st Century Capacitor Plague (symtomps are bulging and leaking electrolyte). I do not have an ESR meter to test the other capacitors (maybe I will create one later). I will remove the capacitors and try to power the motherboard, as of now I only have one cheap (Chinese) capacitor and it is longer than the 6.3V version because it is 16V, and they are both 1000uF, this capacitor will be soldered to the motherboard. My other problem is that I only have a 30W cheap soldering iron, cheap solder tin and solder sucker. The 30W cannot possibly remove the solder fast enough to avoid damaging the motherboard because of the heat. (Motherboard are multi-layered PCB and it has grounding to dissipate more heat from the components.)
To remove the faulty electrolytic capacitor you need to desolder it (if you can) or use a pliers and twist it to remove them (easier). After removing the caps, clean the connectors with an isopropyl alcohol and a cotton bud.
The system booted up after removing all bulging capacitors but I did not plug in my HDD, I used a flash drive with a Live GNU/Linux OS. I also tried plugging in my video card and tried to play Flightgear and it worked, but my single 2GB RAM made the game unresponsive, requiring me to press the RESET button.
RESOLDERING A NEW CAPACITOR
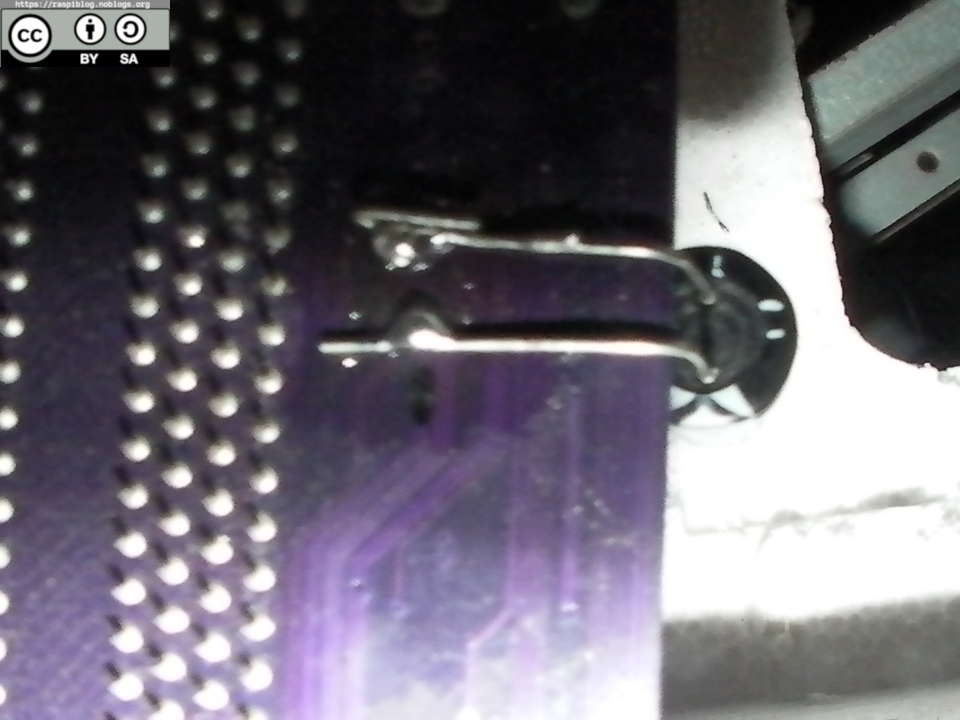
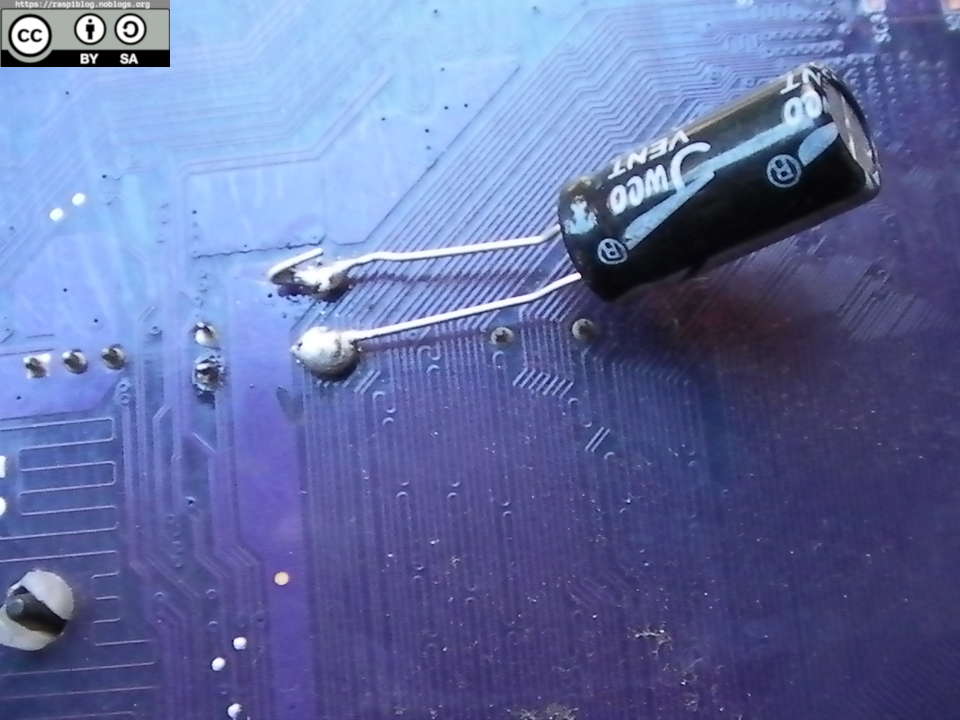
My cheap soldering iron failed to remove the solder from the motherboard even if I applied a solder flux to it. I resoldered the new cheap capacitor to the back of the motherboard and just added an electrical tape to prevent the pins from shorting out. The new cap is longer and if I solder a new capacitor near the PCI-e card it will not fit, so I plan to use a short wire and solder it to the motherboard and capacitor.
The capacitor that you should use must be a good quality and at the same farad rating, the voltage rating does not matter but be sure to match the required or greater than it.
Stay tuned for the resoldering of eight more capacitors.
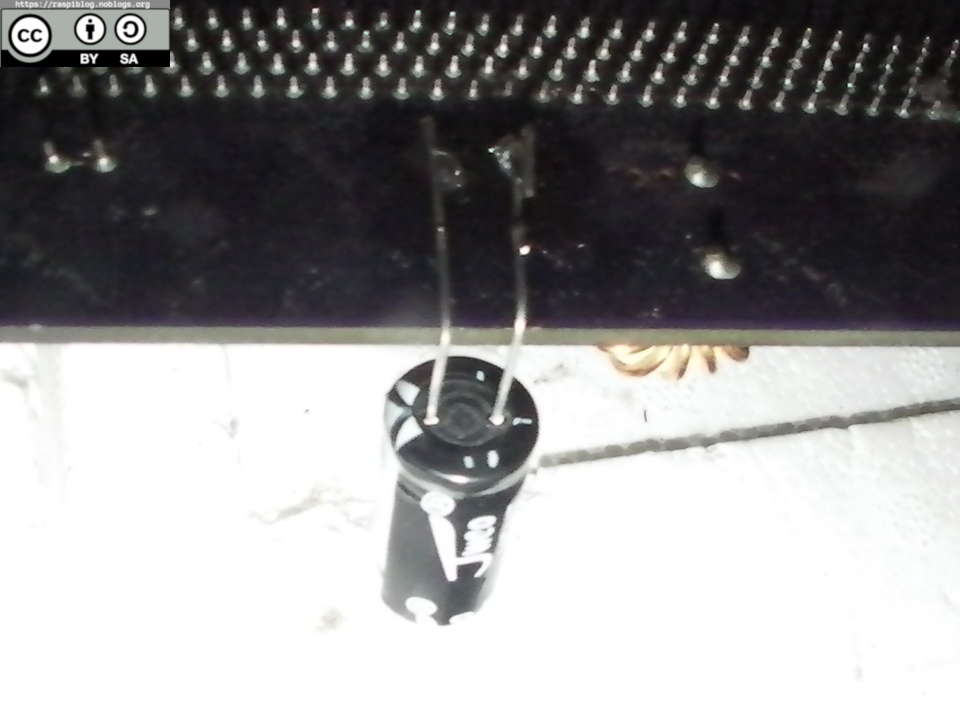
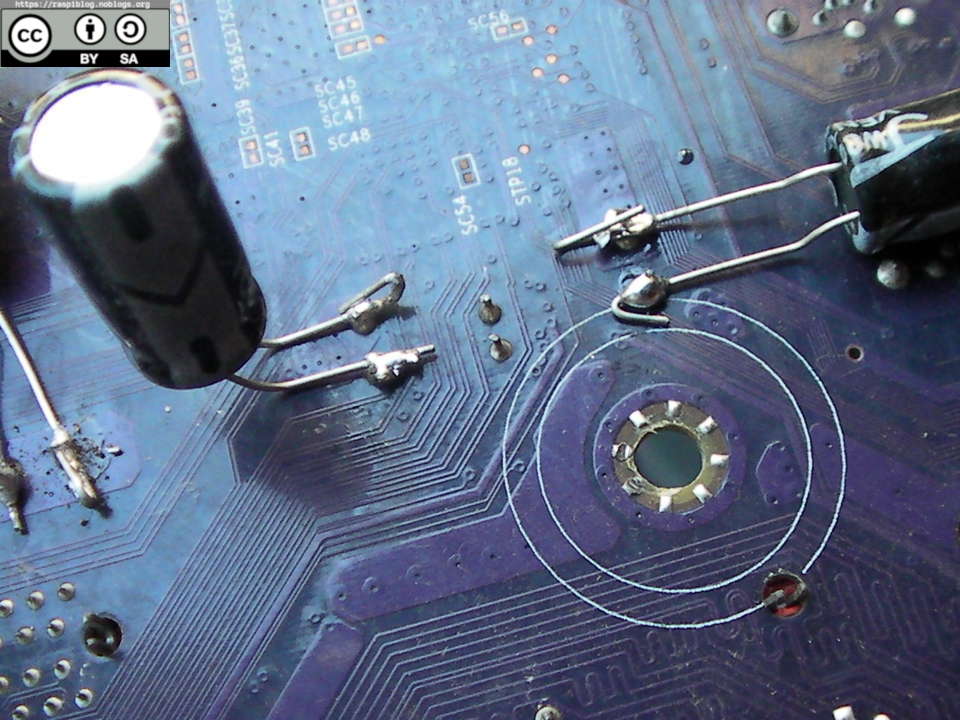
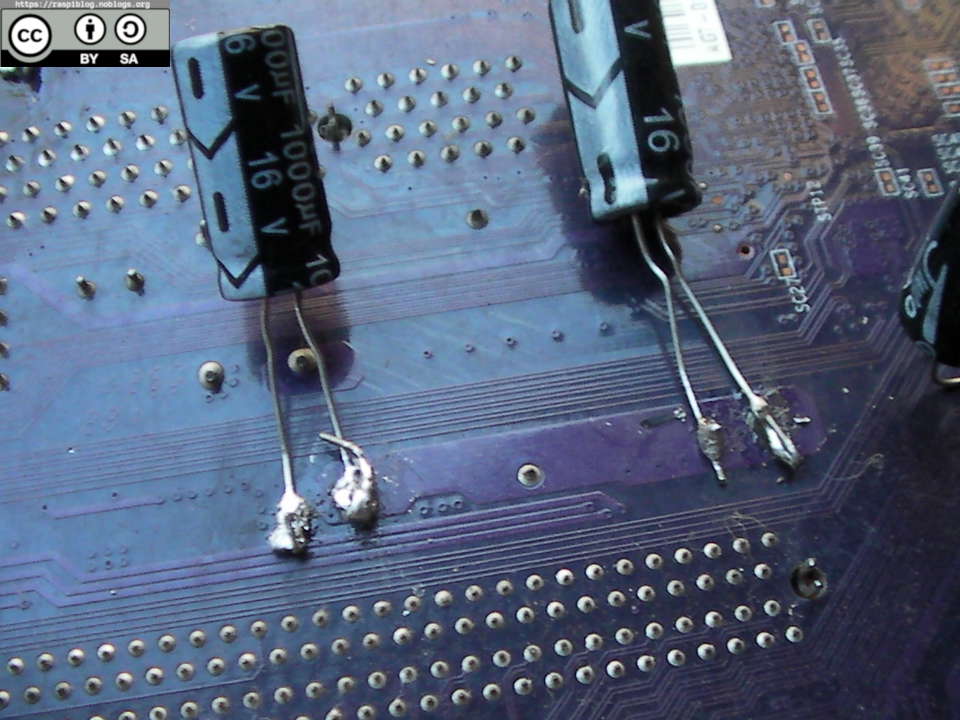
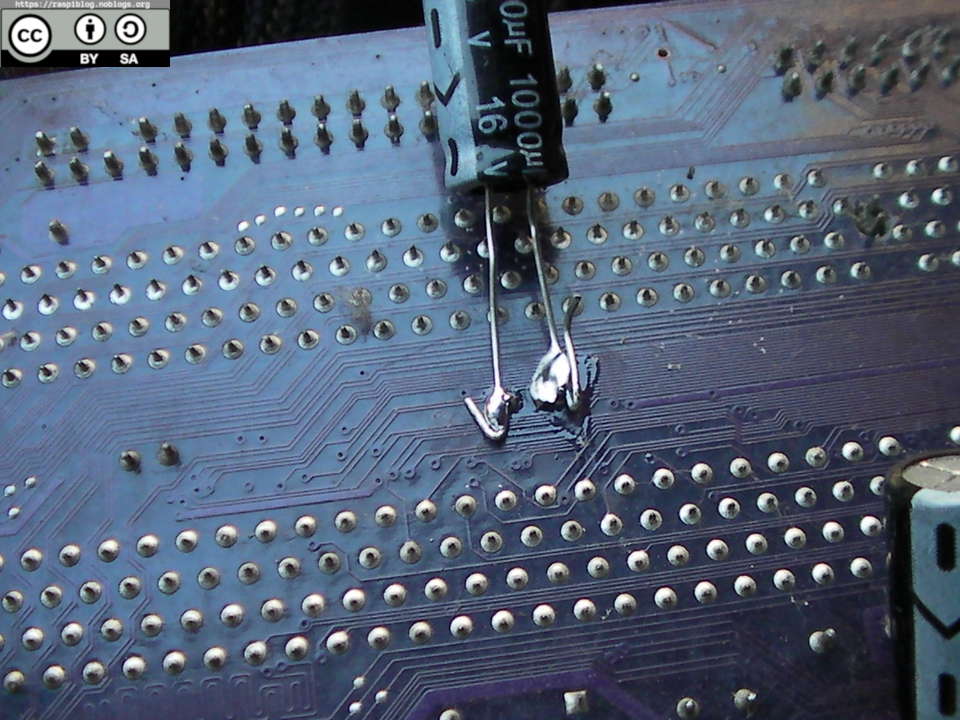
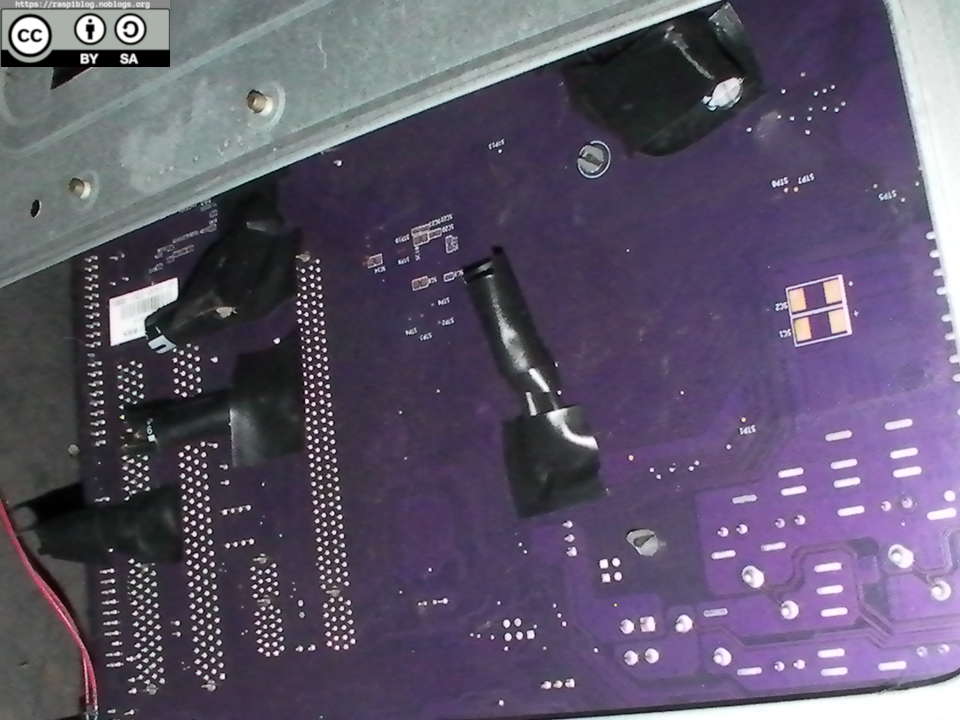
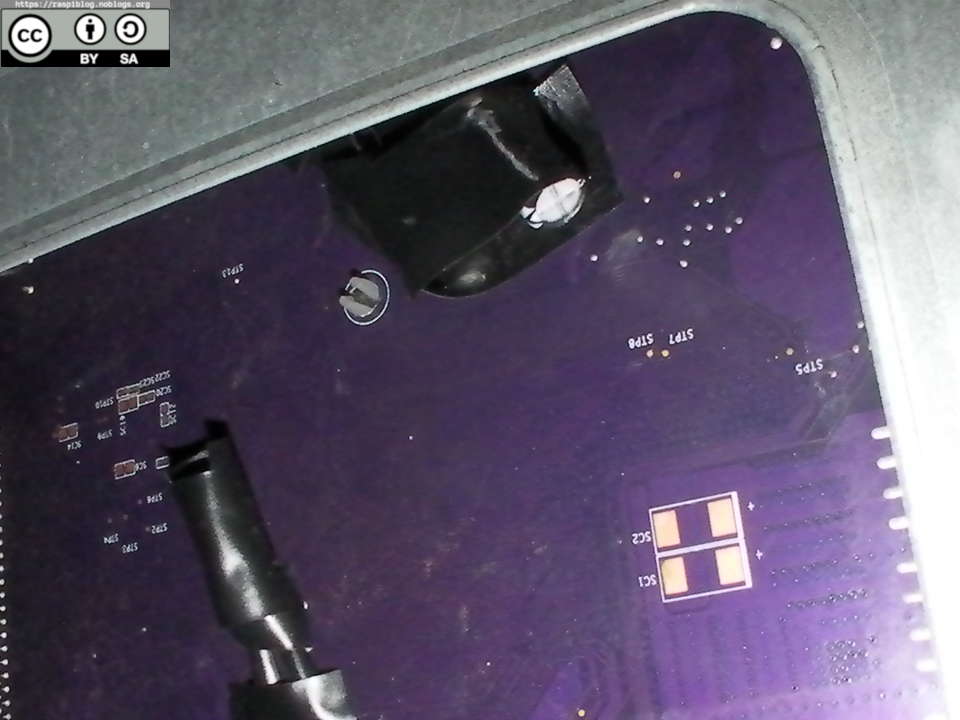
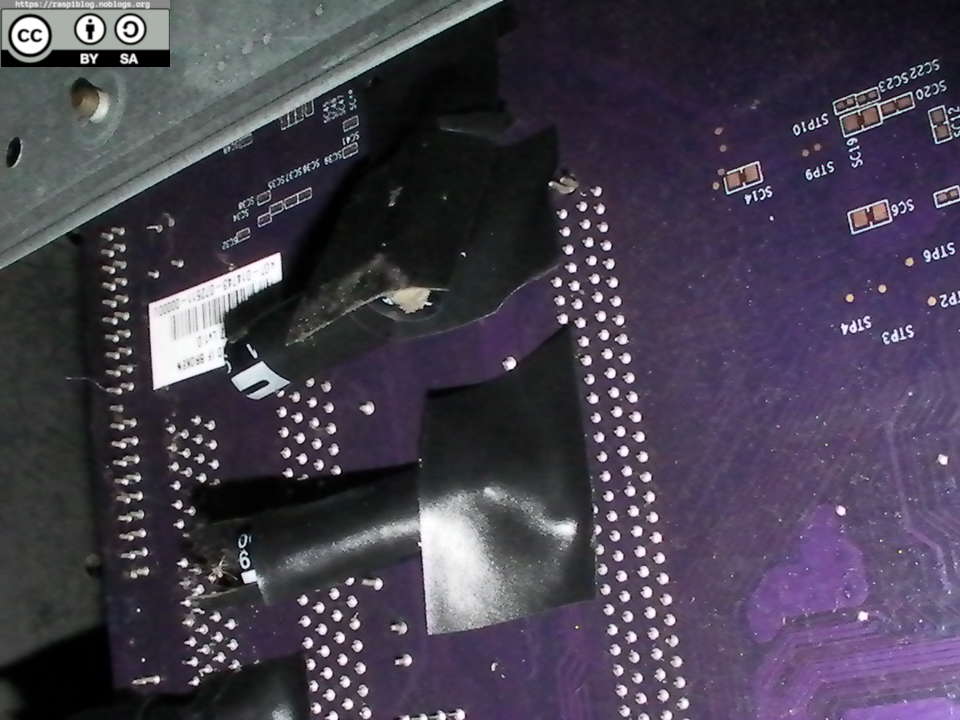
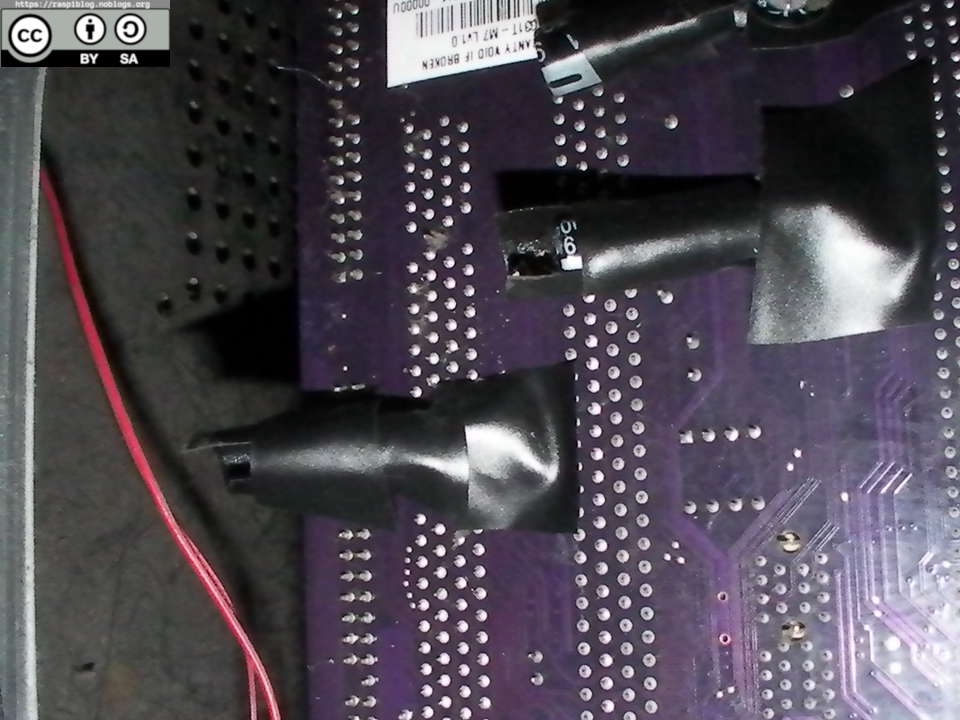
UPDATED: I have soldered the replacement capacitors! They are soldered at the back of the motherboard since I have a low wattage soldering iron that cannot melt and remove immediately the left-over solder from the previous capacitors.
Here are the photos:
Cheap Replacement Capactitors:
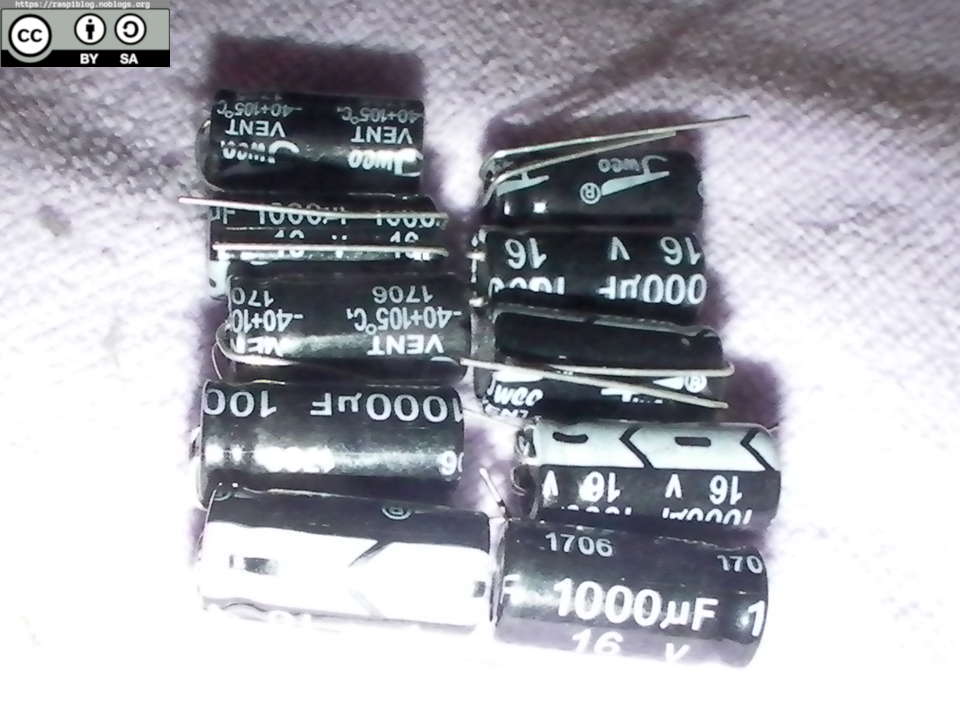
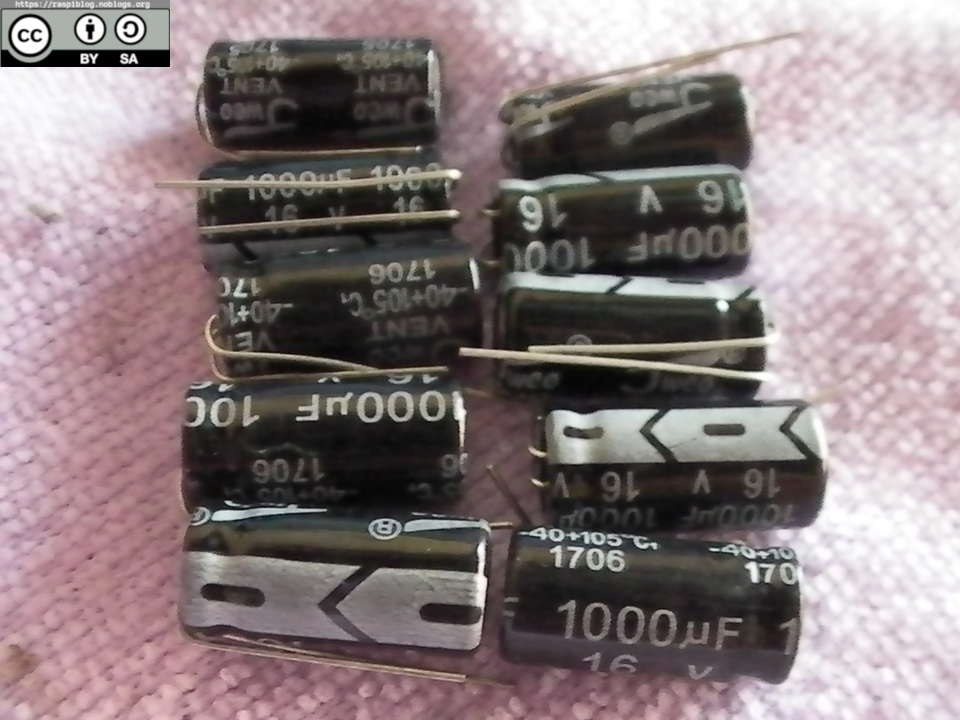
My local electronics shop does not have any 6.3V 1000uF capacitors so I chose the next nearest value of 16V 1000uF, but since it is longer than the 6.3V I needed to install it at the back of the motherboard or add a long wire.
Soldered caps at the back of the motherboard.

I have measured the voltage of the soldered capacitors using a multimeter while the system is powered on and they only have a range of 1.2V to 3.26V dc.
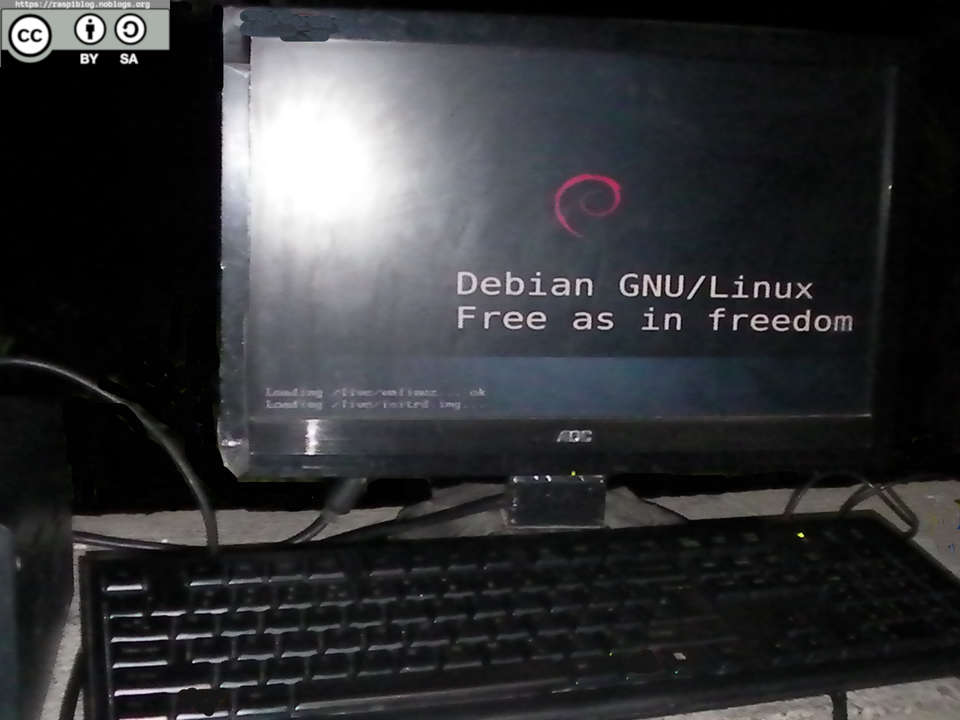
The system boots and I can play my customized Debian Live System for Flightgear
Note: The system boots even without the capacitors but I do not want to take that risk.
Now, my Hard Drive -200+ Bad Sectors , is failing so I may need to get a new one but no budget for it yet.
Except where otherwise noted, this work is licensed under Creative Commons Attribution-ShareAlike 4.0 International License (http://creativecommons.org/licenses/by-sa/4.0/).
I hope that this post is useful to you, if you liked this post you may support me via liberapay. Thank you for your support.
