WARNING:
– Recycling laptop batteries/powerbank batteries are always dangerous.
– Lithium Ion battery may explode or catch fire if abused physically, overcharged, over discharged or short circuited.
– You should not dispose batteries in household waste, it will harm the environment.
– Please do not try to do this at home, I am doing this, so you don’t have to.
UPDATE: Video for the actual teardown and testing of this battery can be found here
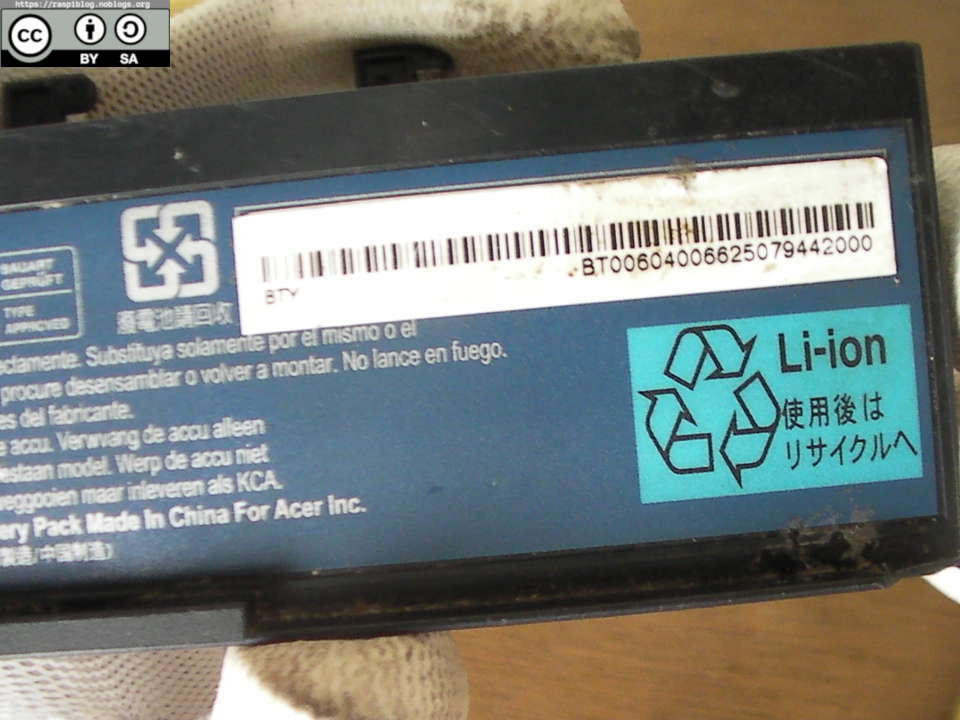
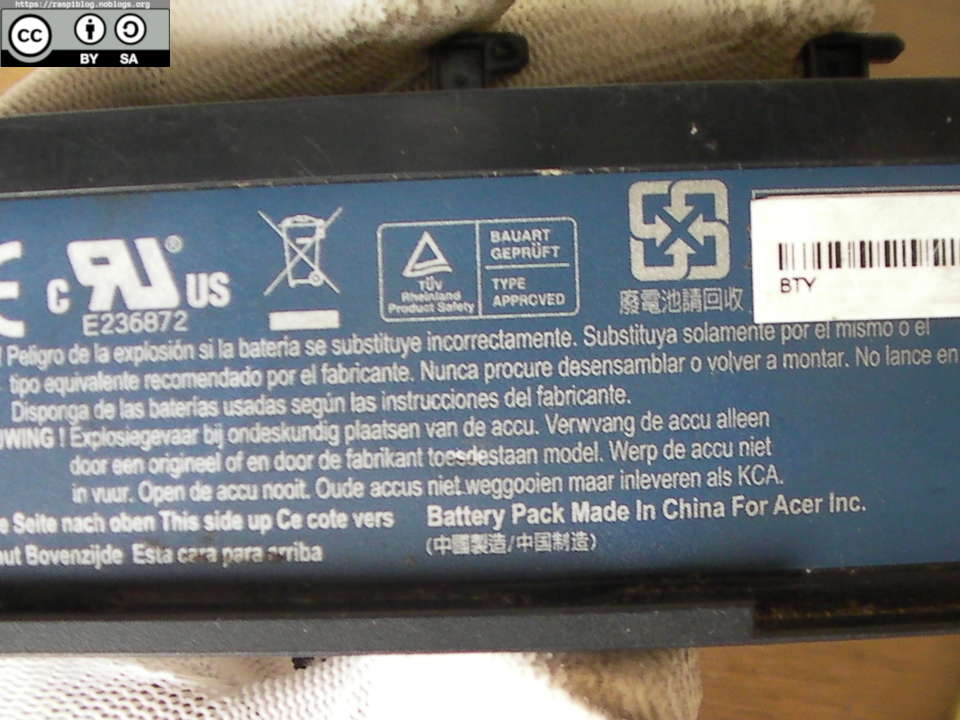
I bought this Laptop Battery Pack for $1 (PHP 50) from a public wet market, the label says 11.1V 4000 mAh and made for Acer.
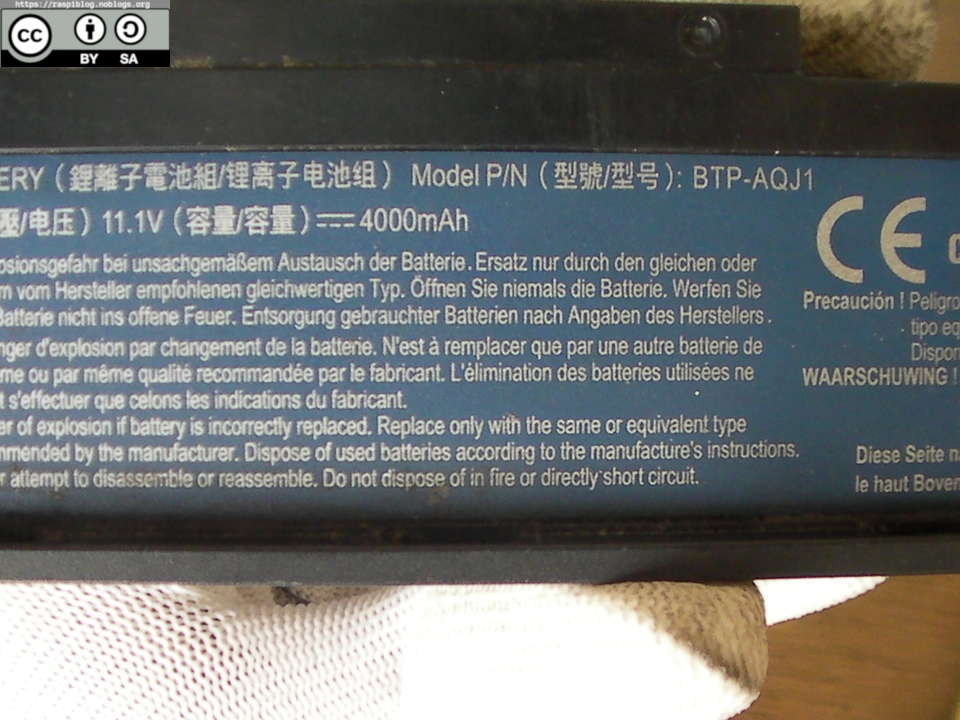
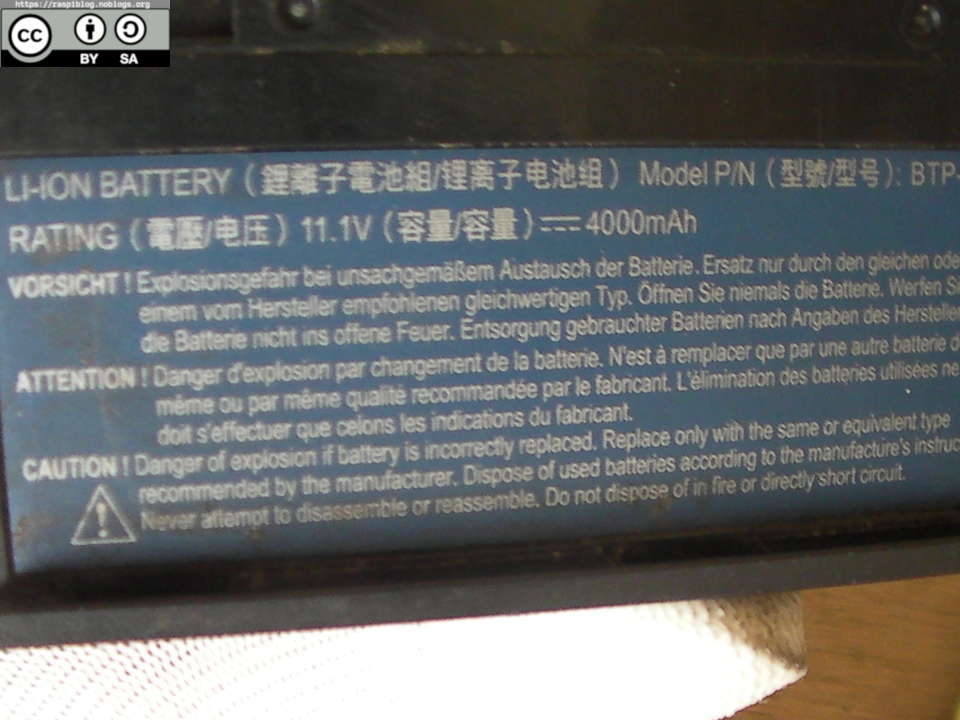
To determine the battery cell in series and parallel, we divide 11.1V to the nominal 18650 3.7V (11.1/3.7) is 3 so we have three cells in series. 4000 mAh, a typical battery cell has a capacity of 1800 mAh, 2000 mAh or 2600 mAh and not greater than 3000 mAh. If we assume that we have a 2000 mAh battery in each cell, then two cells in parallel
has a capacity of 4000 mAh. In total, we have three cells in series and each of those three are two cells in parallel. We expect to find six battery cells in this package.
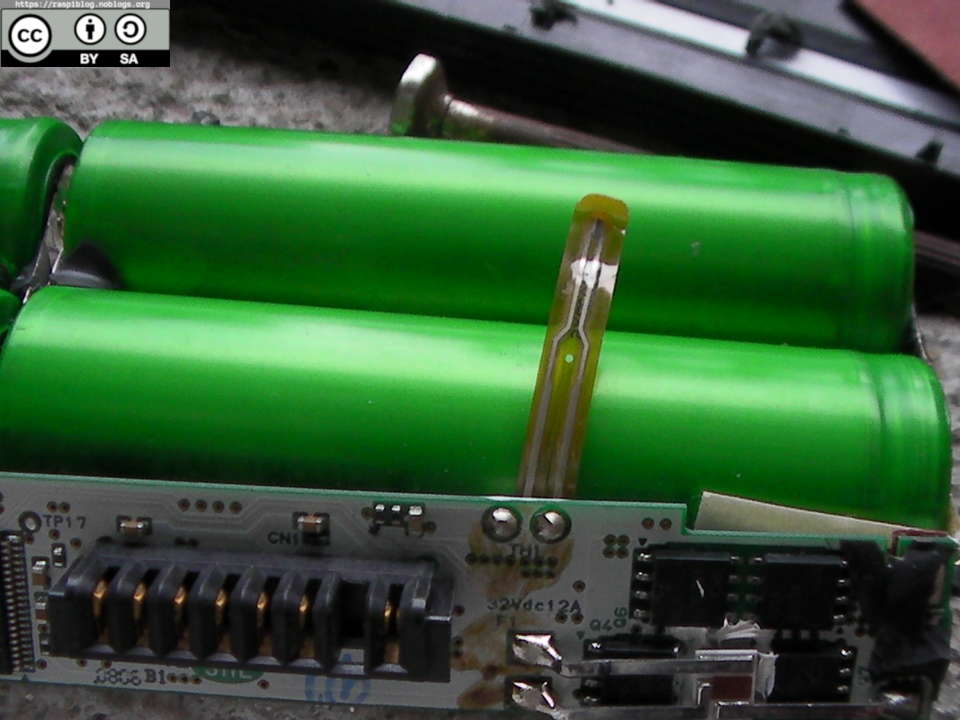
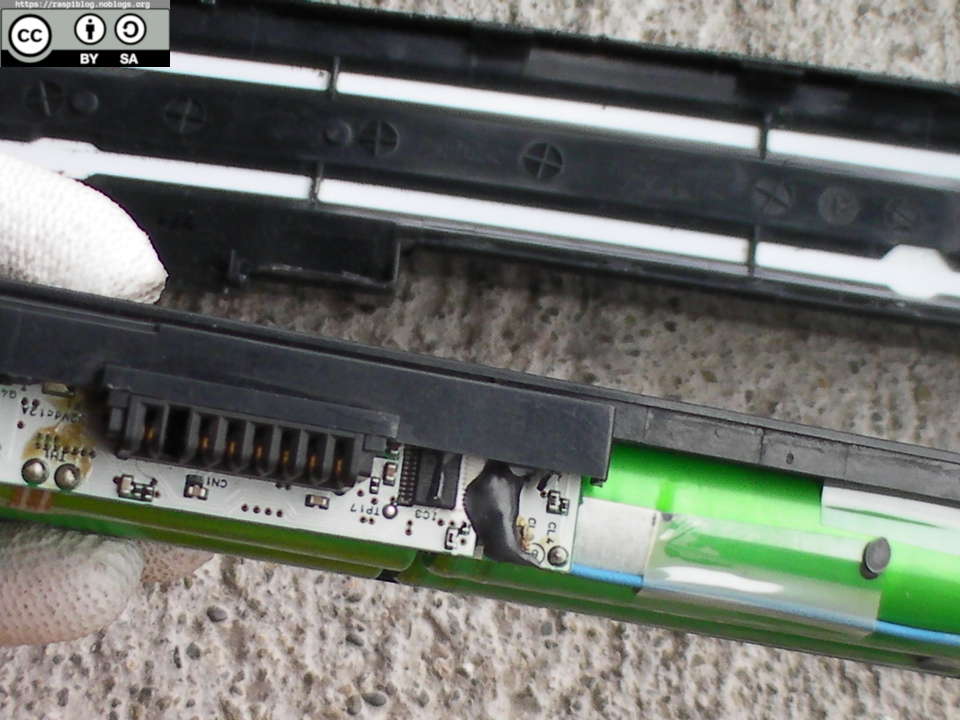
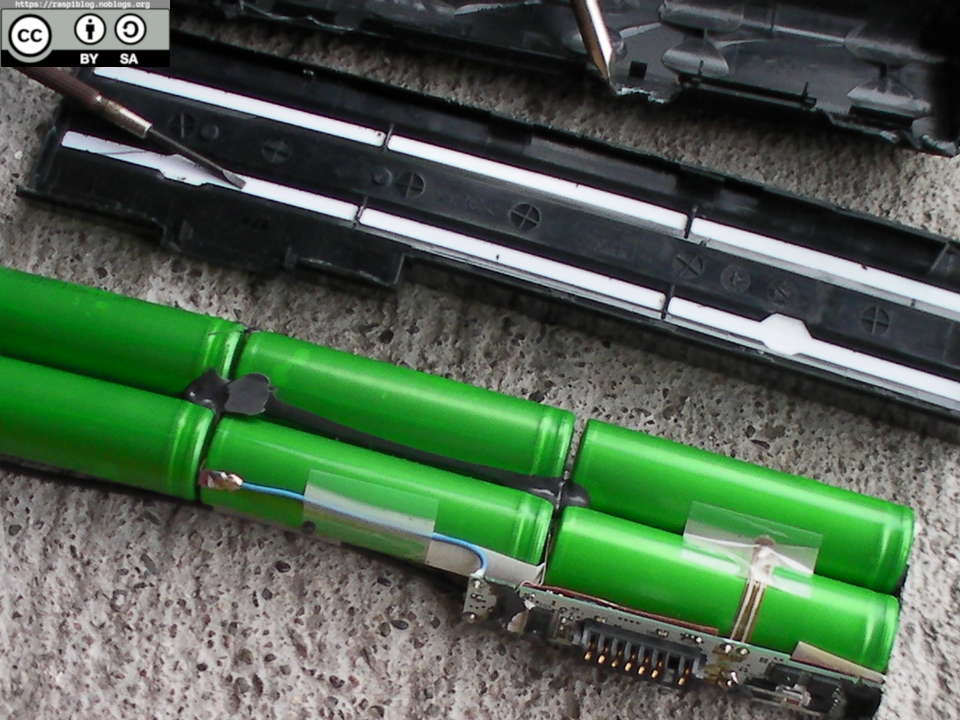
Be careful in disassembling laptop batteries as you can easily damage the cell and set it on fire.
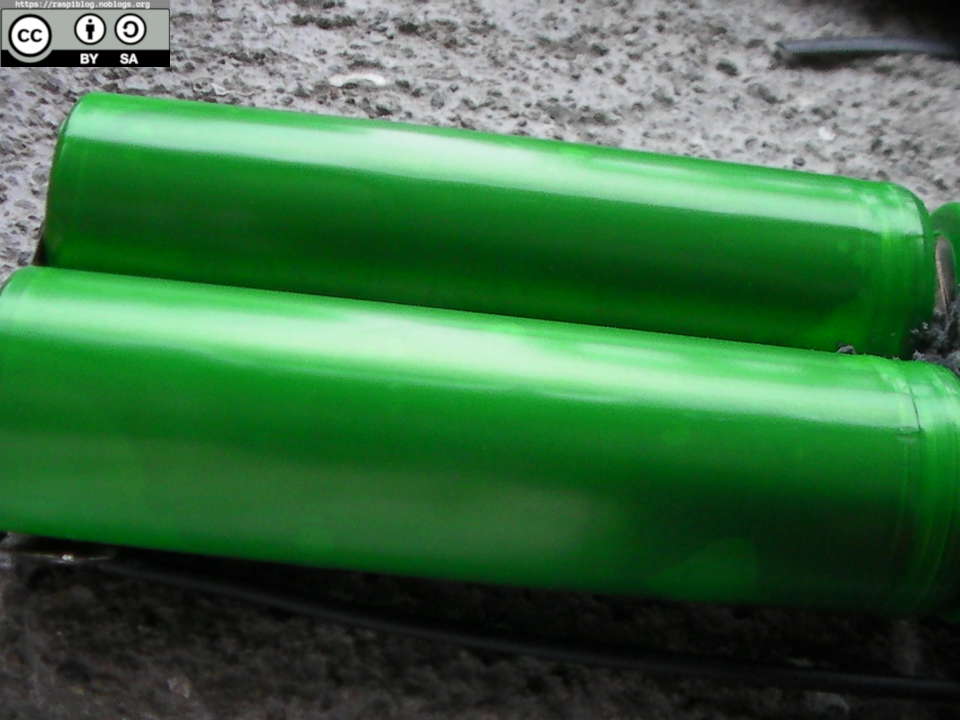
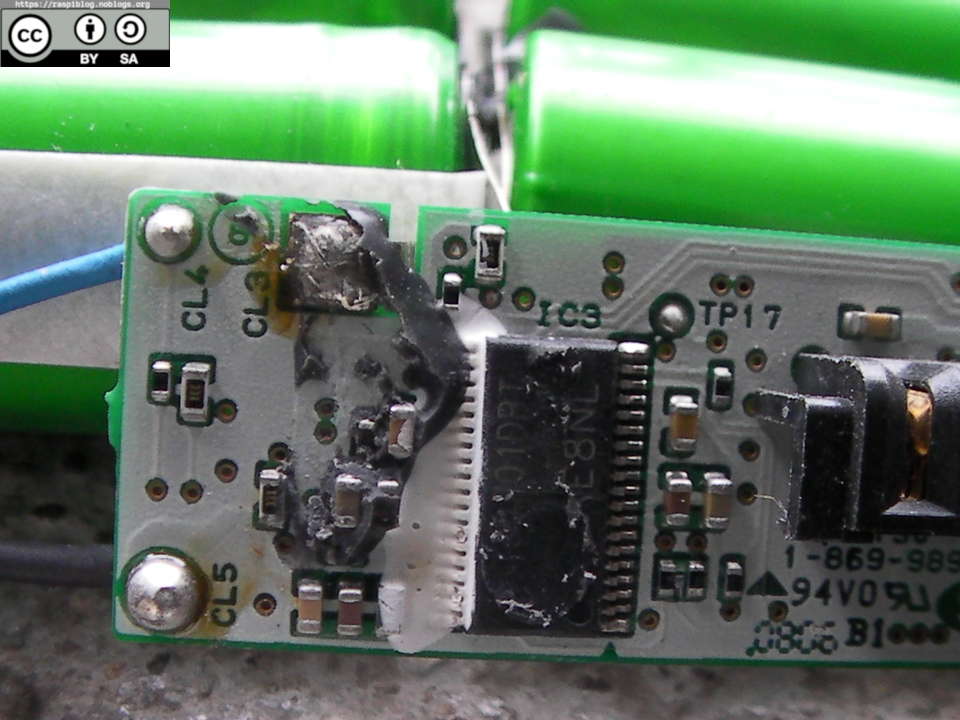
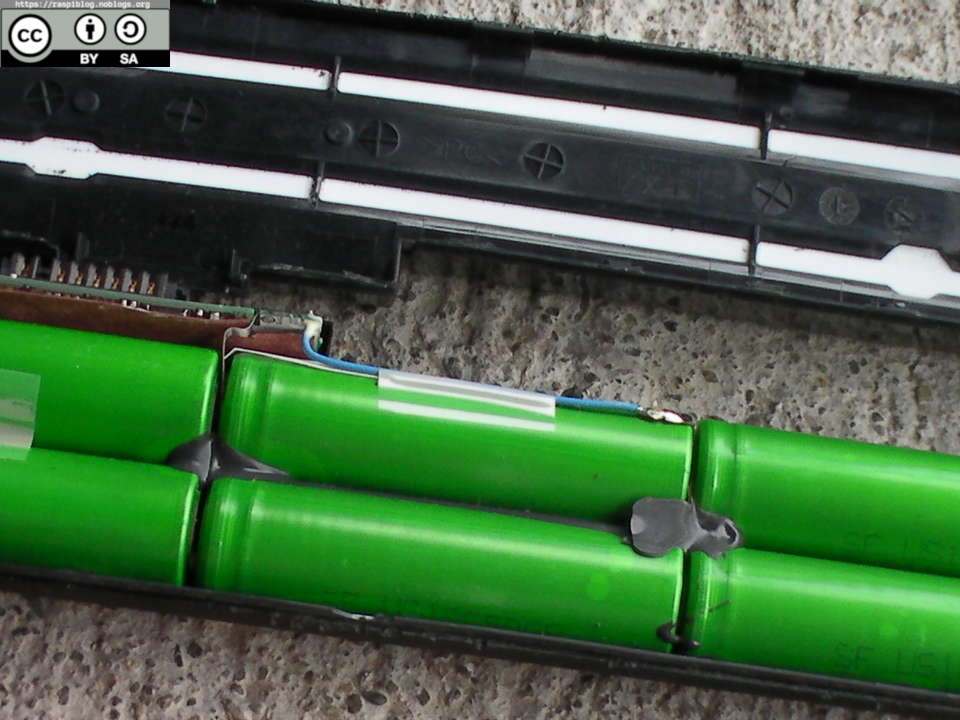
As you can see, we have six battery cells in series and parallel. There is a chip that monitors the voltage and temperature of each pair of cells.
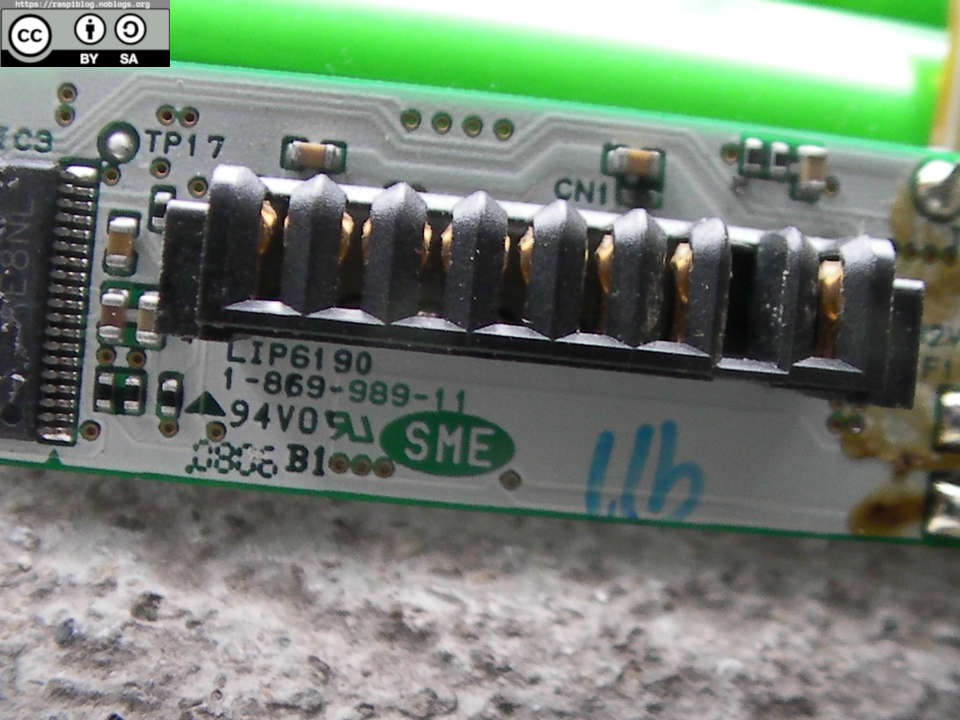
I have saved the board for later, maybe I can salvage some useful SMD components from it?
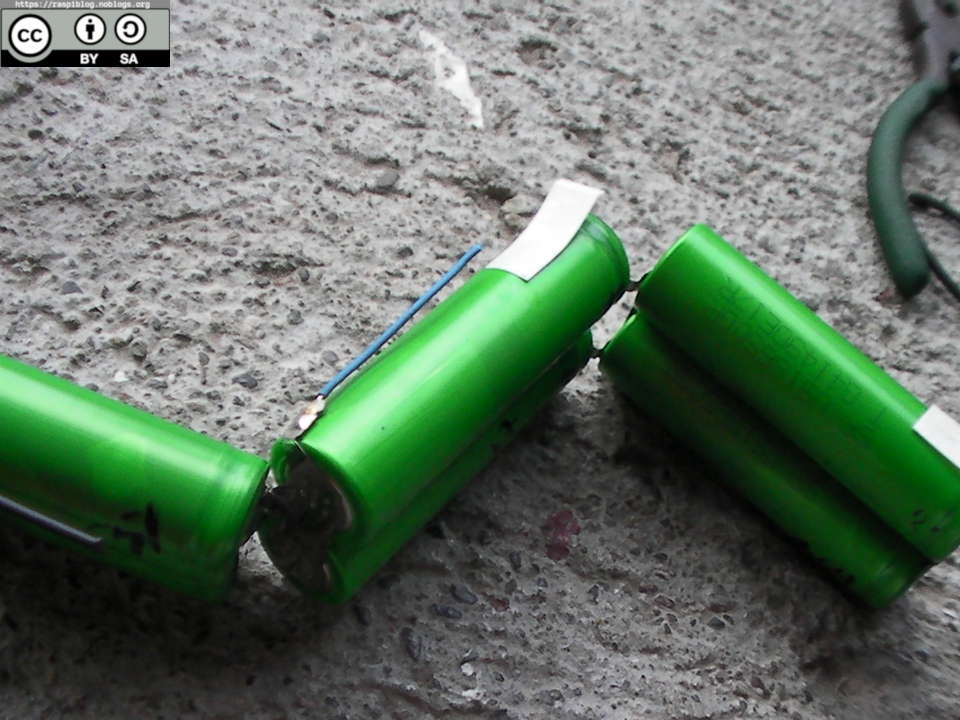
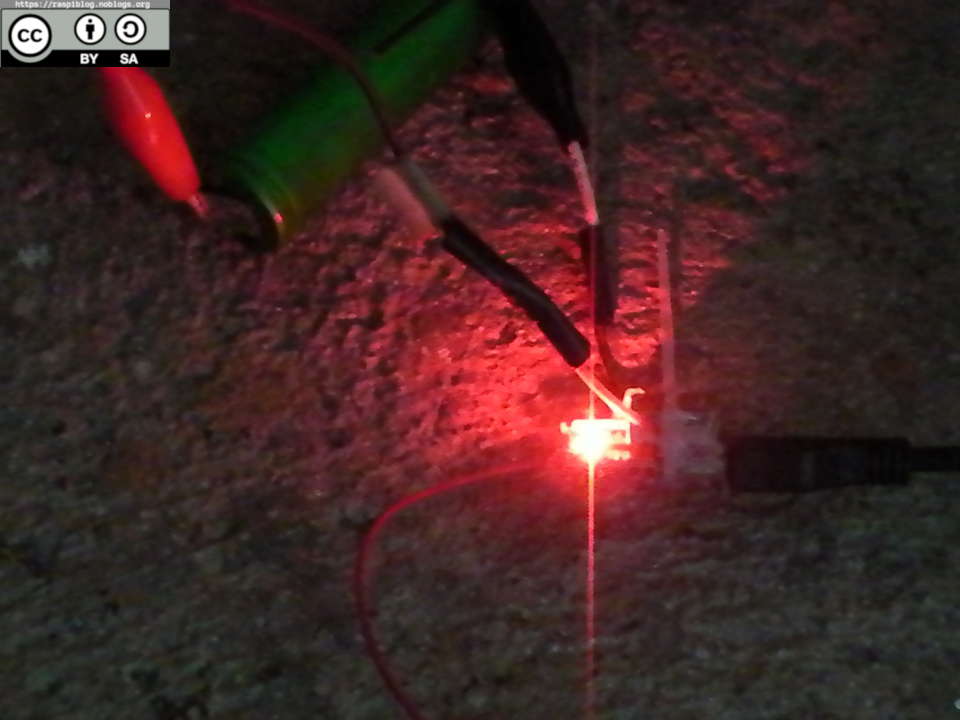
Each parallel pair of the battery have different voltages. On the first pair I measured, 3.37 V, the second is about 2.77V and the last is 2.5 V.
A lithium ion battery has a cut off of 3.00 V, 2.8 V or 2.5 V depending on the manufacturer.
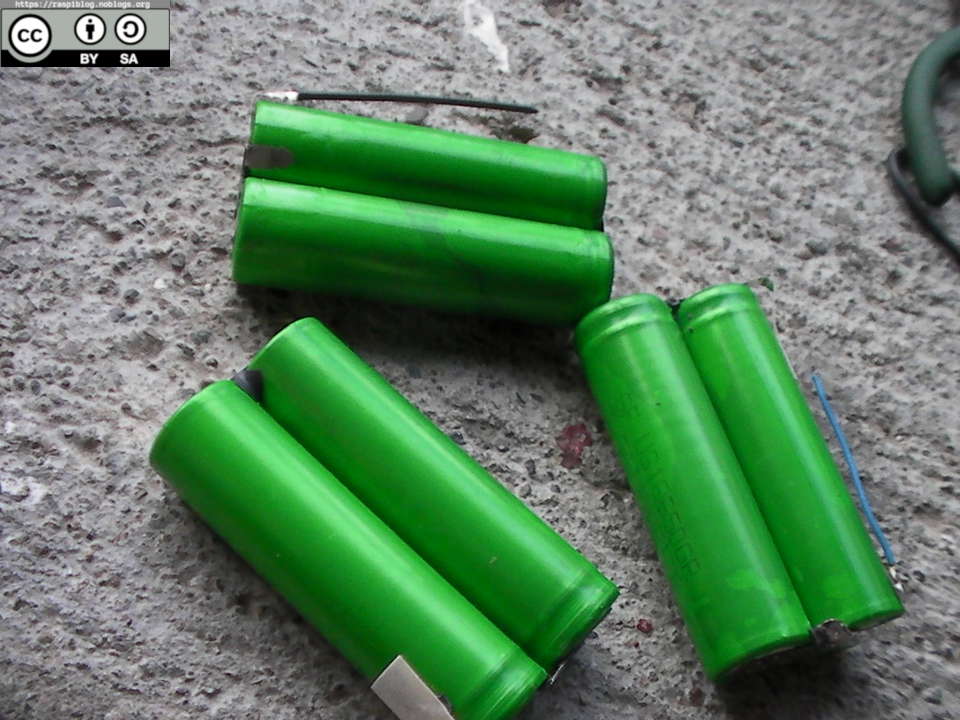
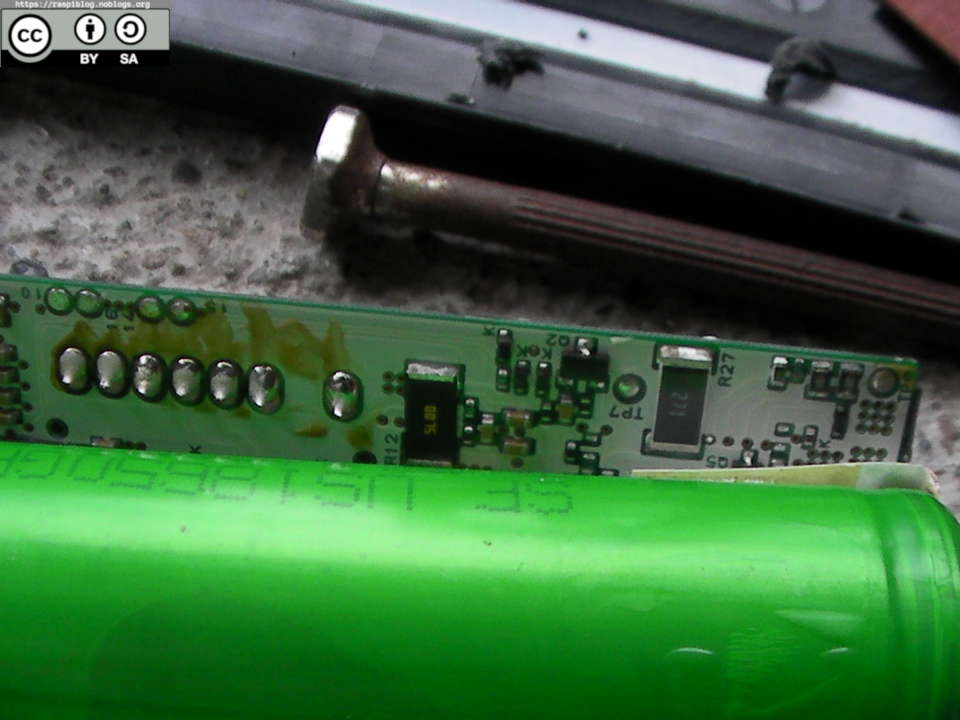
The batteries has markings, it says SF US18650GR T G41490E17R, a quick SearX reveals that this is a Sony battery and has a capacity of 2000 mAh or 1960 mAh (G4 series). GR means Graphite Anode according to a Sony datasheet that I found. SF means Sony Fukushima plant.
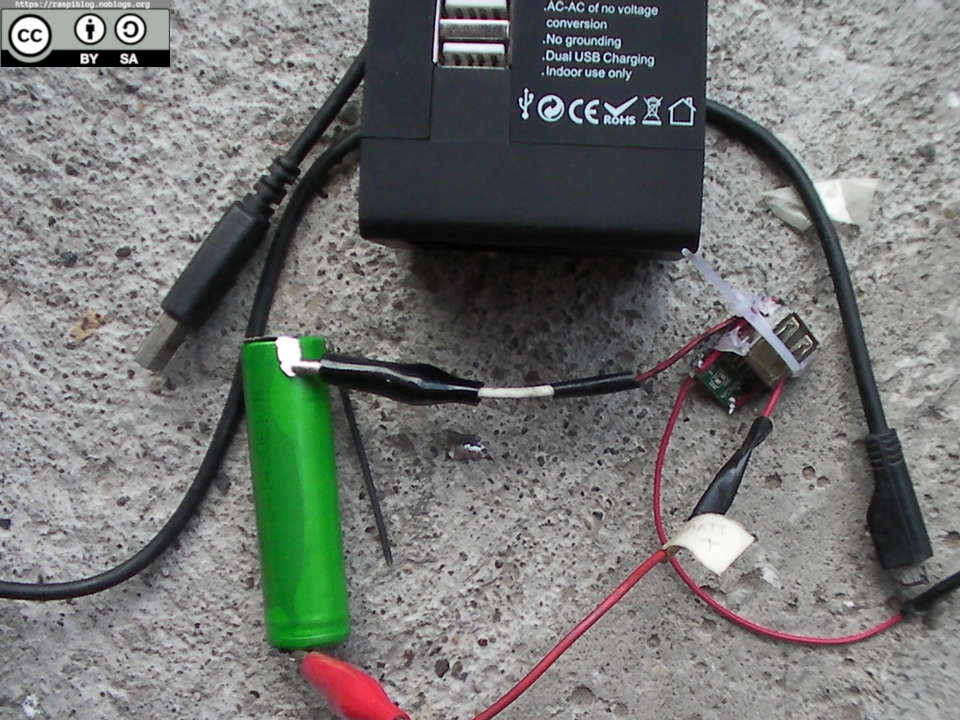
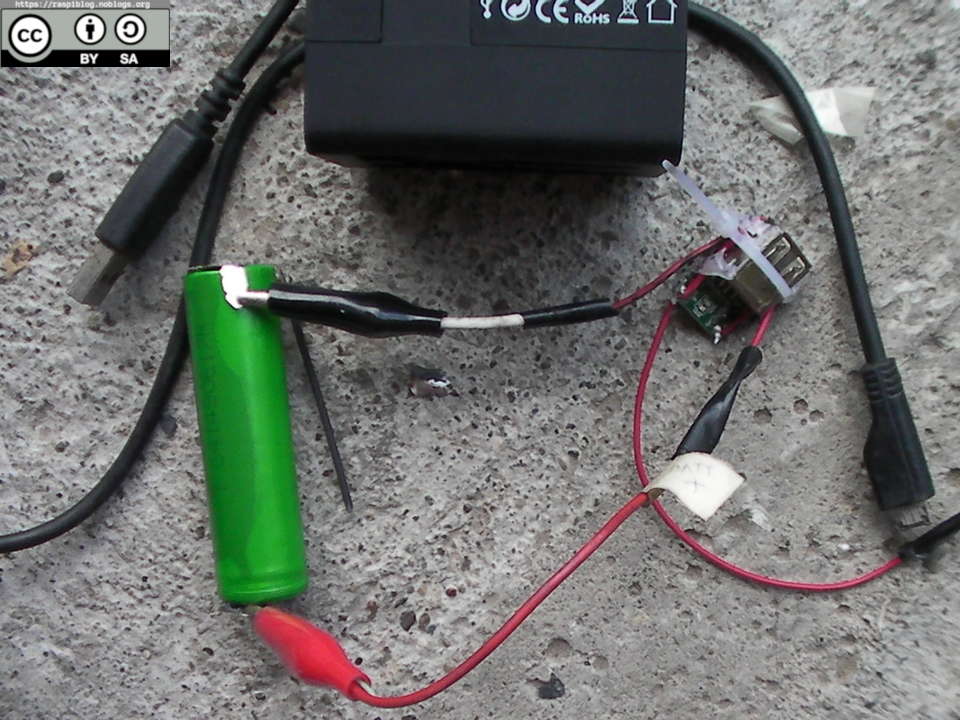
I separated the pairs to charge them individually, as I do not have dual battery charger. I used a cheap powerbank that I teared down earlier to charge one and a TP4056 module (1A output) to charge another. The charging time is about 4 hours, I did not measure the charging time.
After charging them I did not discharge them for a day or two to determine the cell discharge rate, luckily none of them discharged quickly. I discharged them and monitored the time and current but I find it tiring. So, I made a DIY Battery Capacity Meter using ATtiny85, 1602 LCD, Resistors and MOSFET to measure the capacity efficiently but still not accurately as I do not have any shunt resistor.
The test result are as follows:
Parameters: Batteries are discharged until the voltage under load becomes 2.80 V, load current is about 0.50 A. The time (H) indicated is the total battery runtime before the voltage goes to 2.80 V.
1 cycle = charge and discharge
Battery 1: 4th cycle 1489.22 mAh 2.87 H until 3.00 V (under Load)
Battery 2: 2nd cycle 1854.72 mAh 3.69 H
Battery 2: 4th cycle 1800.68 mAh 3.52 H
Battery 3: 3rd cycle 1842.36 mAh 3.56 H
Battery 3: 4th cycle 1743.55 mAh 3.40 H
Battery 4: 2nd cycle 1528.00 mAh 3.01 H
Battery 4: 3rd cycle 1659.33 mAh 3.21 H
Battery 5: 1st cycle 1810.74 mAh 3.39 H
Battery 6: 1st cycle 1489.22 mAh 2.87 H
These tests are still being conducted.
Voltage for Li-Ion:
4.20 = 100 % Charge
3.7 = nominal voltage
3.80 = 50 % (ideal for long storage)
3.00 = 0 %
2.80 = cut off
0 = dead battery (risk of fire/explosion if charged to 4.20V)
Photos:

References:
https://secondlifestorage.com/t-Sony-US18650GR-G6-Cell-Specifications
Except where otherwise noted, this work is licensed under Creative Commons Attribution-ShareAlike 4.0 International License (http://creativecommons.org/licenses/by-sa/4.0/).
I hope that this post is useful to you, if you liked this post you may support me via Patreon or liberapay. Thank you for your support.