Attiny 85 Sealed Lead Acid Overdischarge Protection
I need a 12v SLA Battery Undervoltage and Overvoltage Protection Circuit. The project is a UPS for the Raspberry Pi or any other SBC or microcontroller.
I tried to create analog circuits (https://www.raspberrypi.org/forums/viewtopic.php?p=1026745) but it did not work, so I looked for a programmable circuit and I found this ATtiny 85. Luckily, some vendor near my area is
selling some Atmel chips. This circuit is based on this instructable tutorial:
https://www.instructables.com/id/Battery-protector-cut-out-switch-with-ATtiny85-for/
I bought the NTD5867 N MOSFET from RS Components and it has minimum order quantity of 5 pieces. I have some PCB stripboard, jumper wire, solid 24 AWG wire, LED and a DC-DC Buck Converter (MP1584) which has a low quiescent current, 1K resistors, breadboard and multimeter.
The hardware parts required:
– Attiny85
– NTD5867-N MOSFET
– MP1584 DC-DC Buck Module
– Stripboard (PCB)
– Jumper header (make/female)
– Jumper Wire (F to F/F to M)
– Resistors 1K
– Breadboard
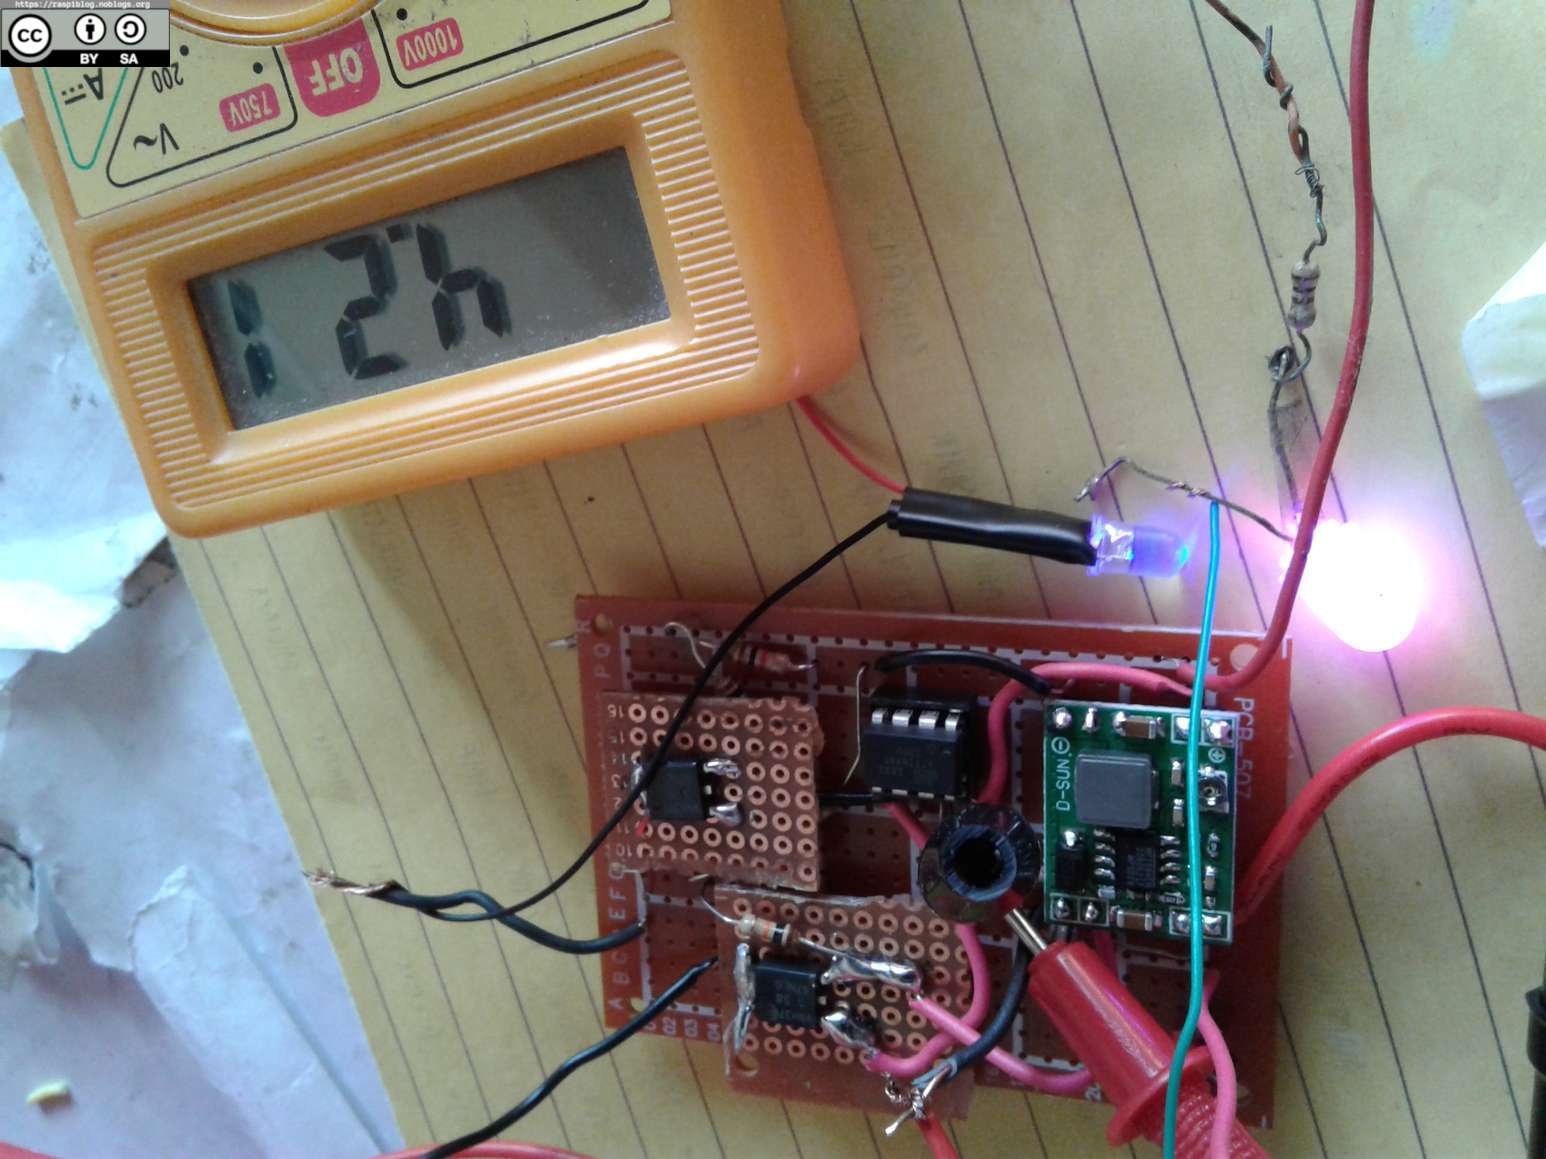
– Multimeter Digital
– Jumper Wire Solid
– Soldering Iron
– Soldering Lead
The expensive parts (for me) area: NTD5867-N ($4), MP1584 ($2) and ATtiny85 ($2).
Software needed:
– Arduino IDE
– ATtiny85 Arduino Core
– Raspberry Pi ( as an ISP AVR flash)
Just follow the schematic from the instructable tutorial, I will update the schematic since I have a different application (UPS and Watchdog Circuit AIO).
The code for the battery monitor can also be found on the tutorial.
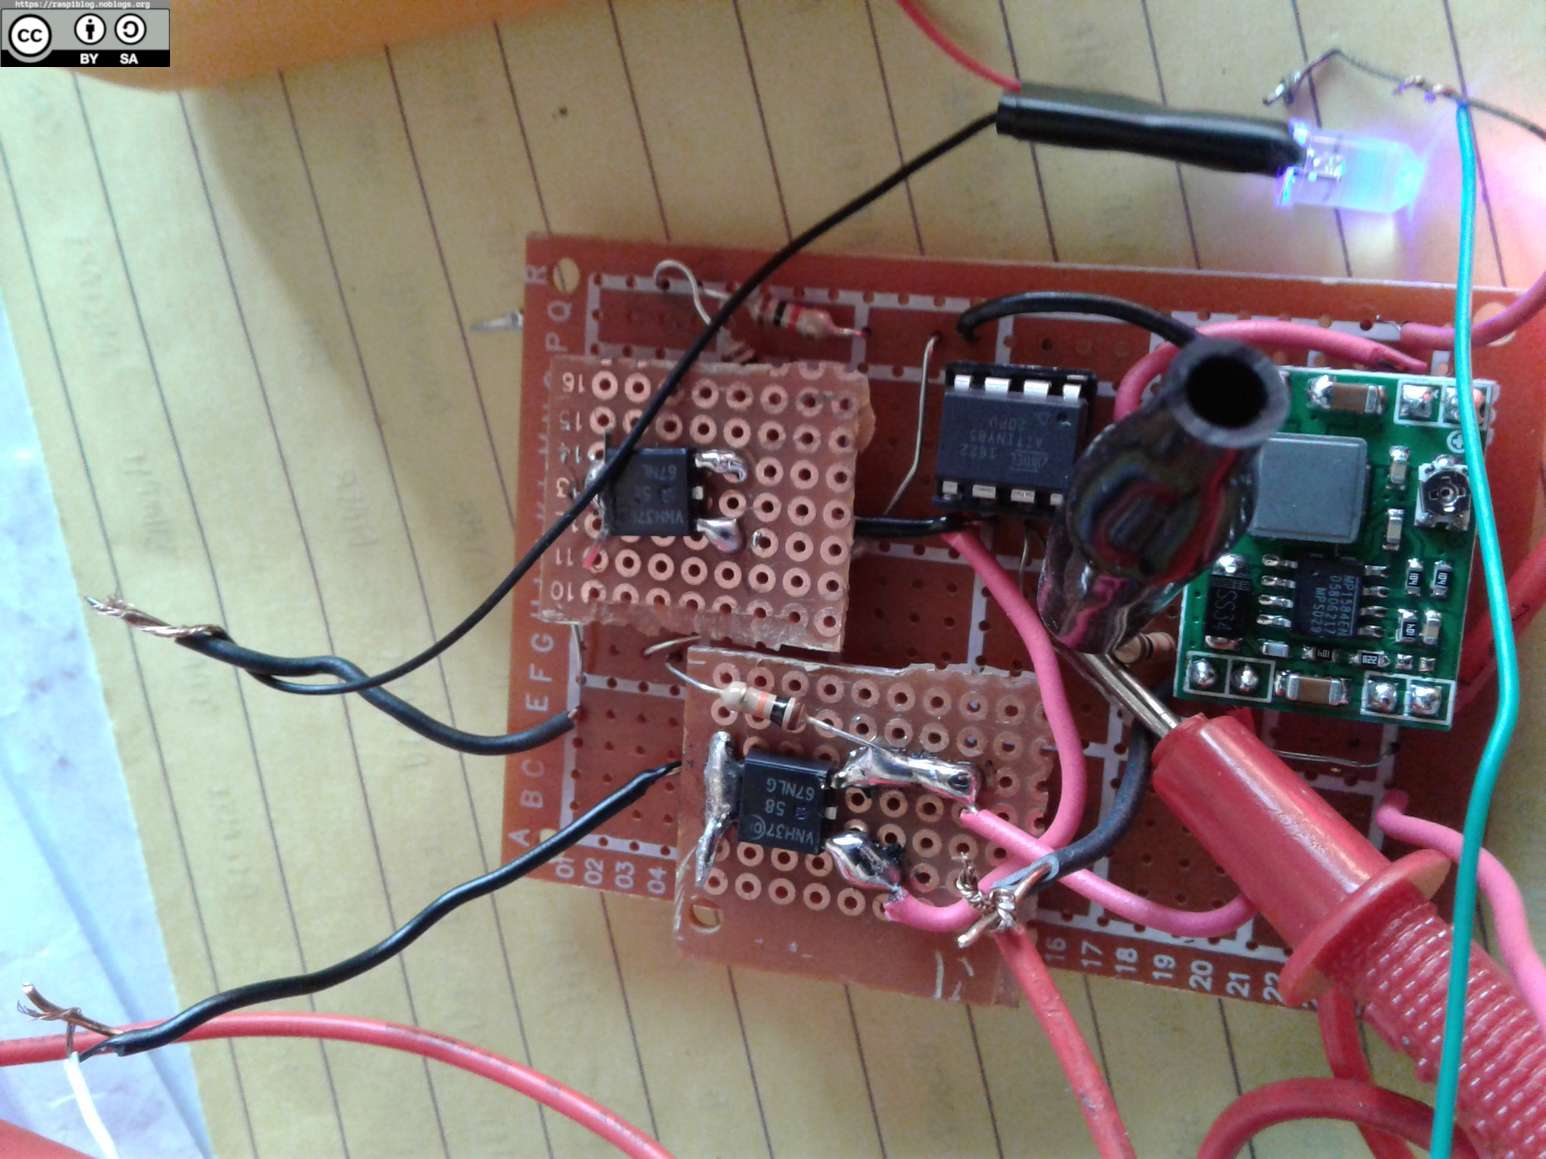
Here are some photos:
NTD5867 N RS
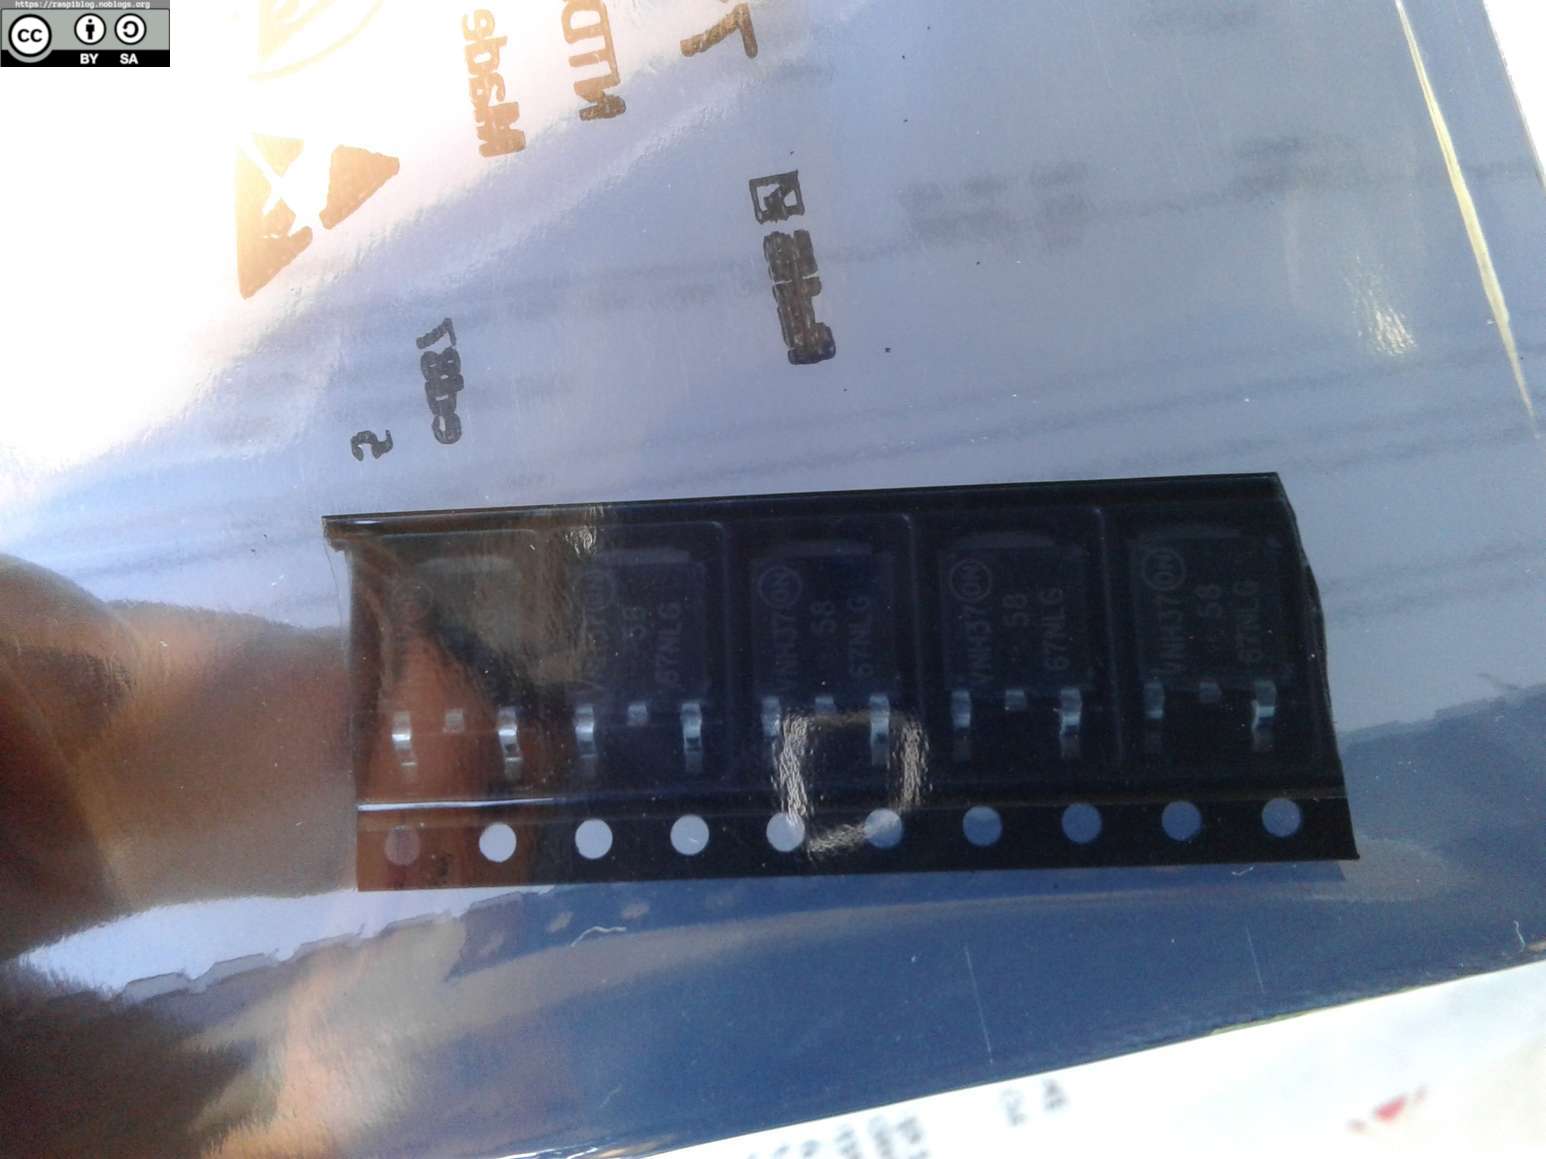
NTD5867 SMD Mount

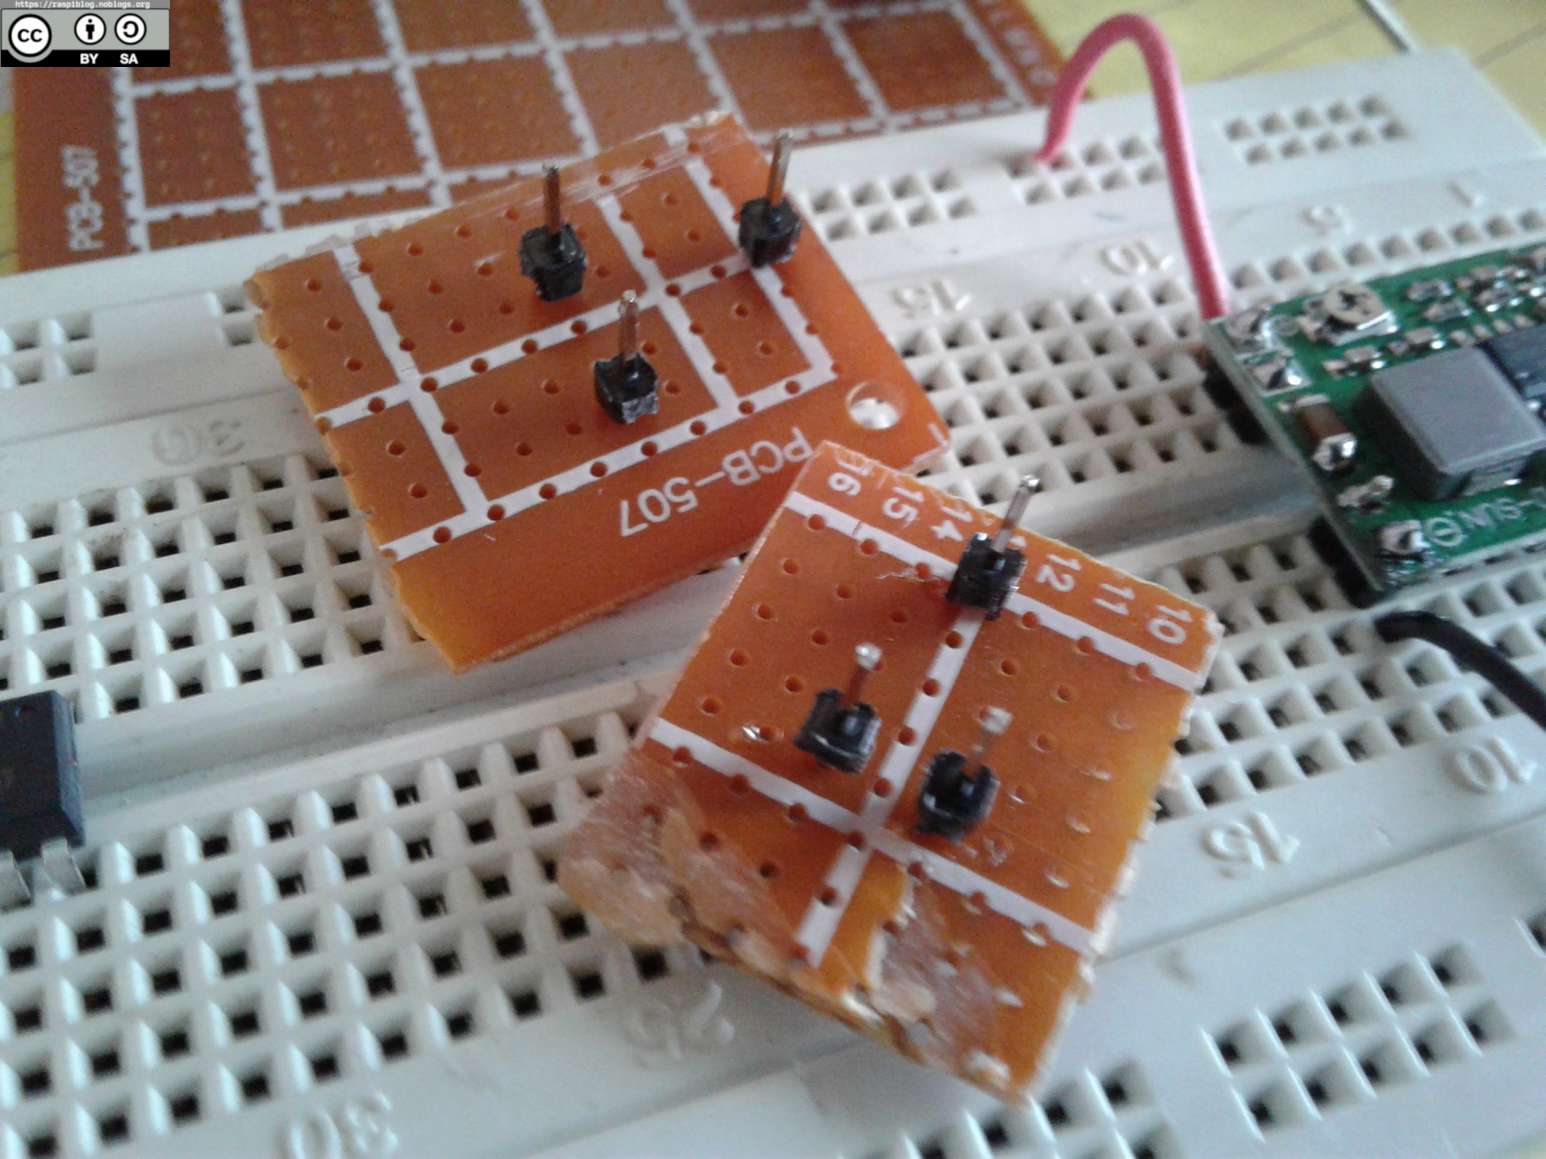
ATtiny85 Breadboard Flashing
Battery Monitor PCB

TBD for UPS and Watchdog
Except where otherwise noted, this work is licensed under Creative Commons Attribution-ShareAlike 4.0 International License (http://creativecommons.org/licenses/by-sa/4.0/).
I hope that this post is useful to you, if you liked this post you may support me via Patreon or liberapay. Thank you for your support.