Today, I will teach you on how to setup humhub to your raspberry pi. HumHub is an open source social network (community edition) licensed under GNU AGPL.
You should visit the official installation manual but I find it hard to understand. http://docs.humhub.org/admin-installation.html
You need to download the community version at: https://humhub.org/en/download
Download it with your favorite download manager:
$cd ~ && wget -c https://humhub.org/en/download/start?version=1.2.4&type=tar.gz&ee=0Extract the archive after downloading to a temporary directory:$ tar xvf humhub-1.2.4.tar.gz
Update and Upgrade System:
 $ sudo apt update && sudo apt upgrade
$ sudo apt dist-upgrade
Install LAMP stack: (this may be incomplete since I already have Apache + MySQL (MariaDB)+ PHP7 installed) L is for Linux (debian + raspberry pi = raspbian)
$ sudo apt install apache2 php7.0 php7.0-ldap php7.0-gd php-apcu-bc php-imagick php-fpm php-cli php-gd php-mysql php-curl php-memcached php-intl php-zip libapache2-mod-php7.0 php-snmp php-mbstring mariadb curl git imagemagick
Edit the Apache2 default site: (I have used https 443 port so I am setting it up to another port example 8443)
$ sudo nano /etc/apache2/sites-available/000-default.conf
sample Output:
<VirtualHost *:8443>

ServerName myserver.mooo.com
ServerAlias myserver.mooo.com
ServerAdmin youremail@domain.com

#Serversignature should be off for security reasons
 ServerSignature Off
 HostnameLookups Off

#this is for enabling https using let's encrypt on another guide
 SSLEngine On
 SSLCertificateFile /etc/letsencrypt/live/myserver.mooo.comfullchain.pem
 SSLCertificateKeyFile /etc/letsencrypt/live/myserver.mooo.com/privkey.pem

#use QoS to prevent DDOS? you need to install apache mod_qos

DocumentRoot /var/www/html/
<Directory /var/www/html/>

AllowOverride All
 Order allow,deny
 Allow from all

SetOutputFilter RATE_LIMIT
 SetEnv rate-limit 1024
 SetEnv rate-initial-burst 2048
</Directory>

# Available loglevels: trace8, ..., trace1, debug, info, notice, warn,
 # error, crit, alert, emerg.
 # It is also possible to configure the loglevel for particular
 # modules, e.g.
 #LogLevel info ssl:warn

ErrorLog ${APACHE_LOG_DIR}/error.log
 CustomLog ${APACHE_LOG_DIR}/access.log combined

# For most configuration files from conf-available/, which are
 # enabled or disabled at a global level, it is possible to
 # include a line for only one particular virtual host. For example the
 # following line enables the CGI configuration for this host only
 # after it has been globally disabled with "a2disconf".
 #Include conf-available/serve-cgi-bin.conf
</VirtualHost>

# vim: syntax=apache ts=4 sw=4 sts=4 sr noet
 #x Header edit Set-Cookie ^(.*)$ $1;HttpOnly;Secure
You need to set up ports.conf in apache2 directory, also the humhub will be accessible to https://yourdomain/humhub in this configuration
 $ sudo nano /etc/apache2/ports.conf

<IfModule ssl_module>
 Listen 443
 Listen 8443 https
</IfModule>

<IfModule mod_gnutls.c>
 Listen 443
 Listen 8443 https
</IfModule>
Move humhub-1.2.4 folder to your webserver root (eg. /var/www/html) and set permissions to www-data
$ sudo mv -v humhub-1.2.4 /var/www/humhub $ sudo chown -R www-data:www-data /var/www$ sudo systemctl restart apache2
Change directory to /var/www/humhub
move .htaccess-dist to .htaccess to protect critical directory from being read by anyone
$ sudo mv .htaccess-dist .htaccess
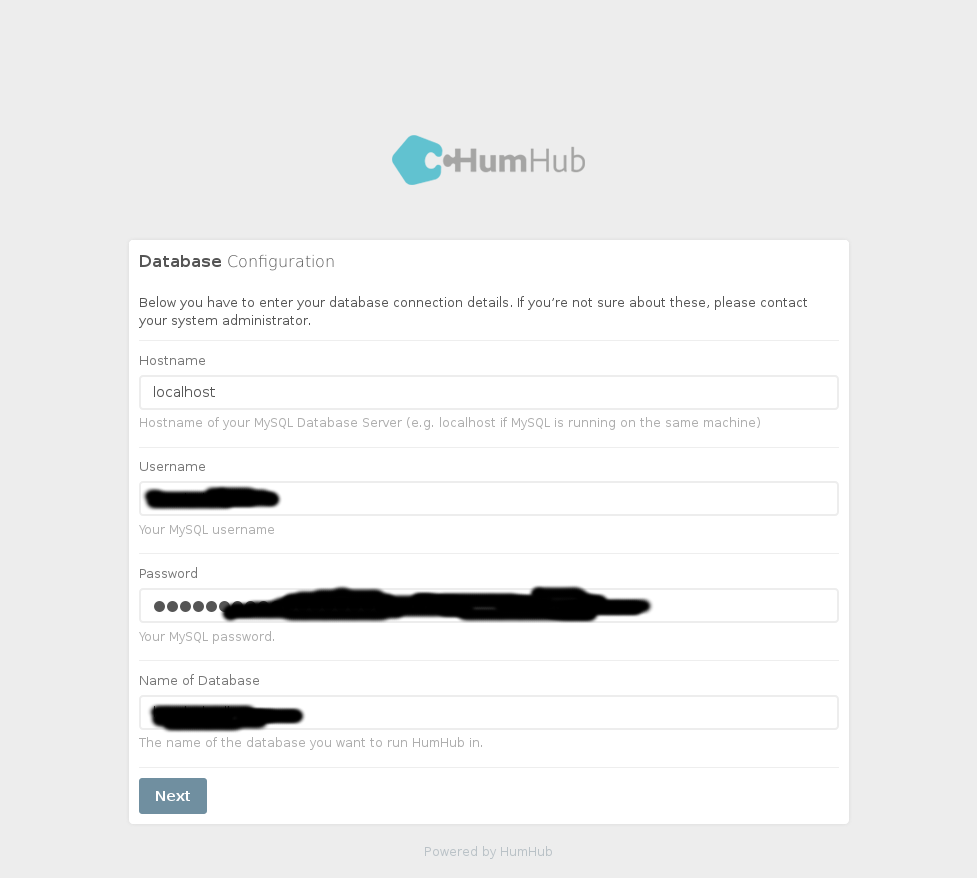
Create database for humhub:
$ sudo mysql -uroot
> CREATE DATABASE `humhub` CHARACTER SET utf8 COLLATE utf8_general_ci;
> GRANT ALL ON `humhub`.* TO `humhub_dbuser`@localhost IDENTIFIED BY 'password_changeme';
> FLUSH PRIVILEGES;
be sure to change humhub_dbuser and password_changeme.
Add this to root’s crontab: if you get Permission denied error check your permissions and or append php
 $ sudo crontab -e

*/5 * * * * su -c "php /var/www/humhub/protected/yii cron/hourly" www-data >/dev/null 2>&1
 0 18 * * * su -c "php /var/www/humhub/protected/yii cron/daily" www-data >/dev/null 2>&1
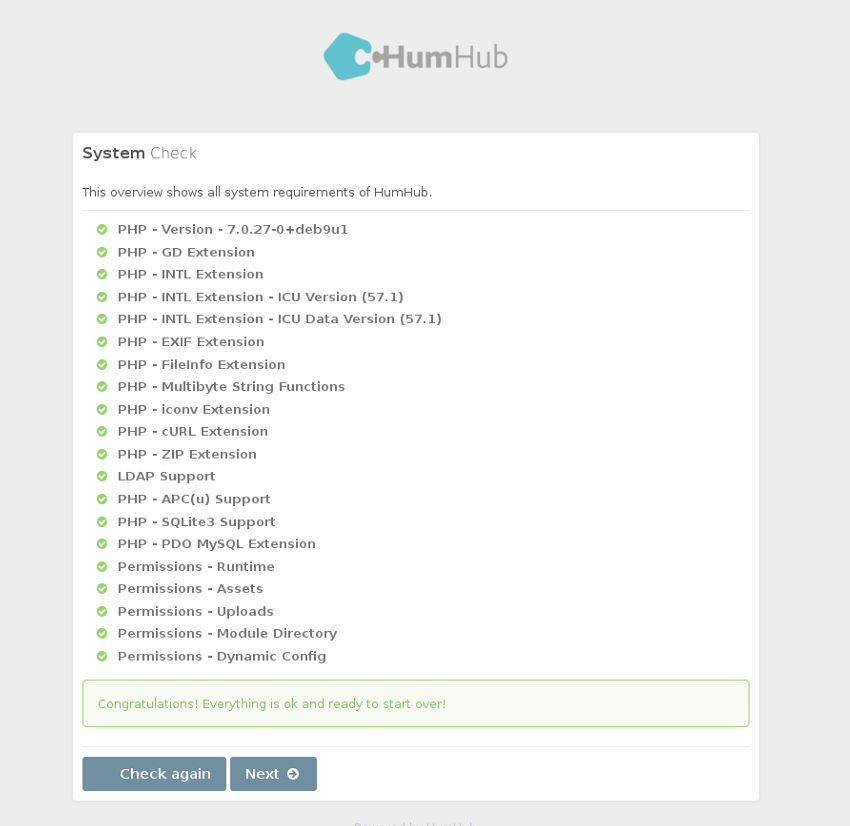
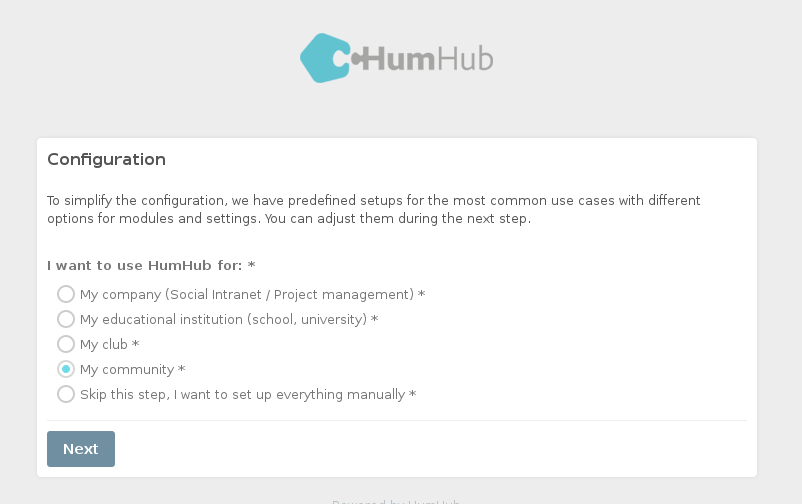
Visit your site in localhost or in your domain to proceed with installation
https://localhost:8443/humhub


You need to edit the Email settings so the instance can send email to users. I do not recommend GMail since it is involved with PRISM surveillance program. You need an email account, I’d suggest using an app password so you are not giving away you real password also you need to enable IMAP/POP access.
https://localhost:8443/humhub/index.php?r=admin%2Fsetting%2Fmailing-server
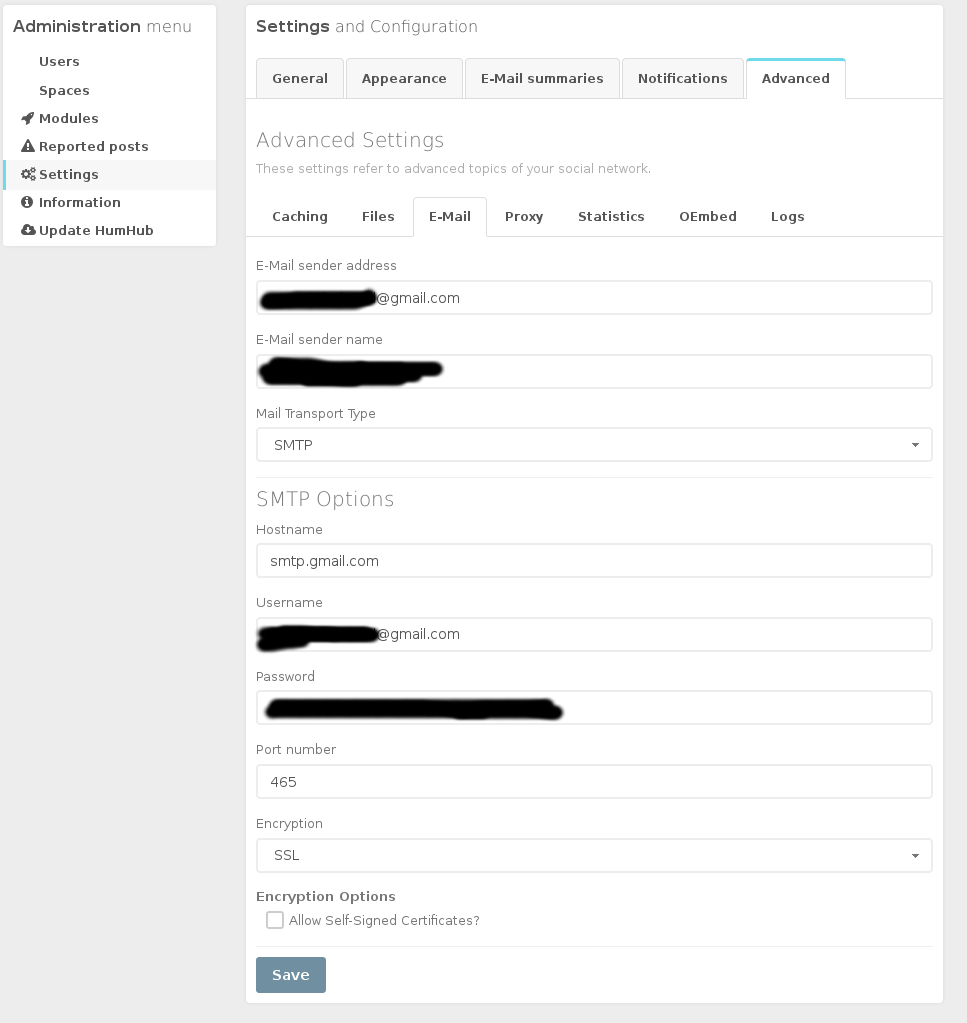
NOTE: GMail may block your emails so it may be useless. You can try to use Mailgun or Sparkpost
UPDATE: GMail block emails with suspicious links now so we need alternatives like Mailgun(but Mailgun needs a credit card so you can get 10 000 free email per month otherwise it has an Authorized Recipients 5 max only)
You also need to register your domain in Mailgun (the TXT and MX records also an optional CNAME record with your dns provider) Some Free DDNS provider are noip,freedns.afraid.org etc.
Here is my mailgun configuration:
Read the official documentation on how to use mailgun first: https://documentation.mailgun.com/en/latest/
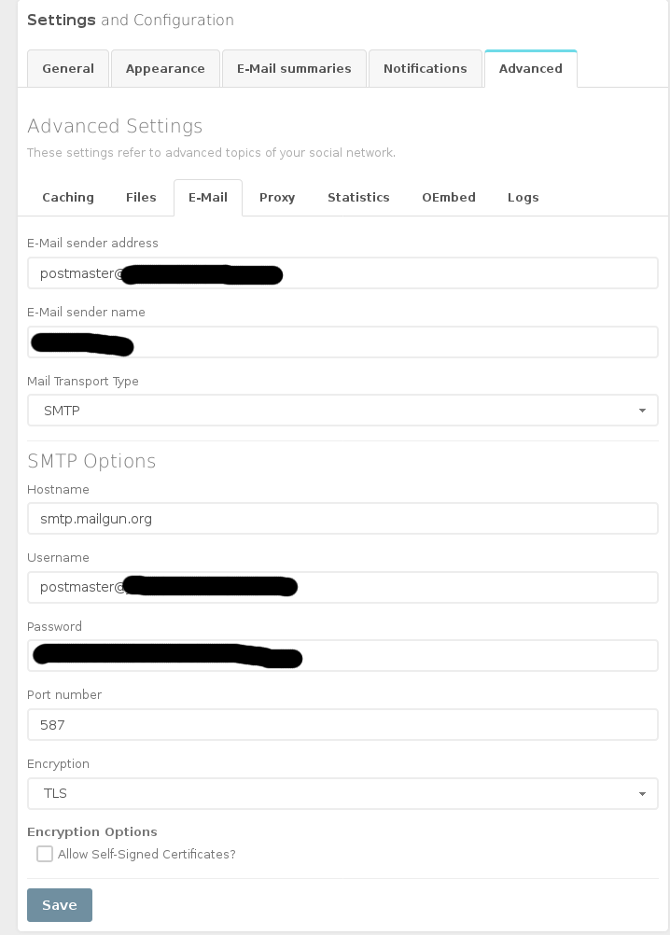
mailgun config
Dynamic DNS, Let’s encrypt installation and Apache QoS,DDoS protection will be on another post.
Except where otherwise noted, this work is licensed under Creative Commons Attribution-ShareAlike 4.0 International License (http://creativecommons.org/licenses/by-sa/4.0/).
I hope that this post is useful to you, if you liked this post you may support me via liberapay. Thank you for your support.
