Cheap Powerbank Teardown and Cheap 2x 18650 Battery Tests
I made a video about the post:
Part 1 – https://youtu.be/Q6il5kJHAmg
Part 2 – https://youtu.be/ThCglc3g7Jw

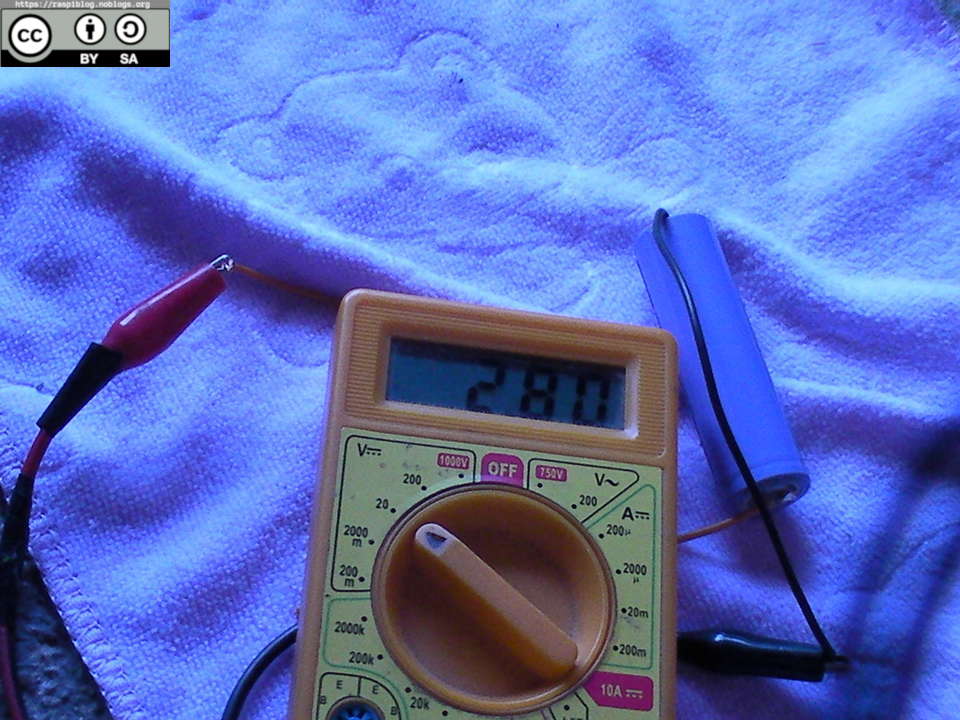
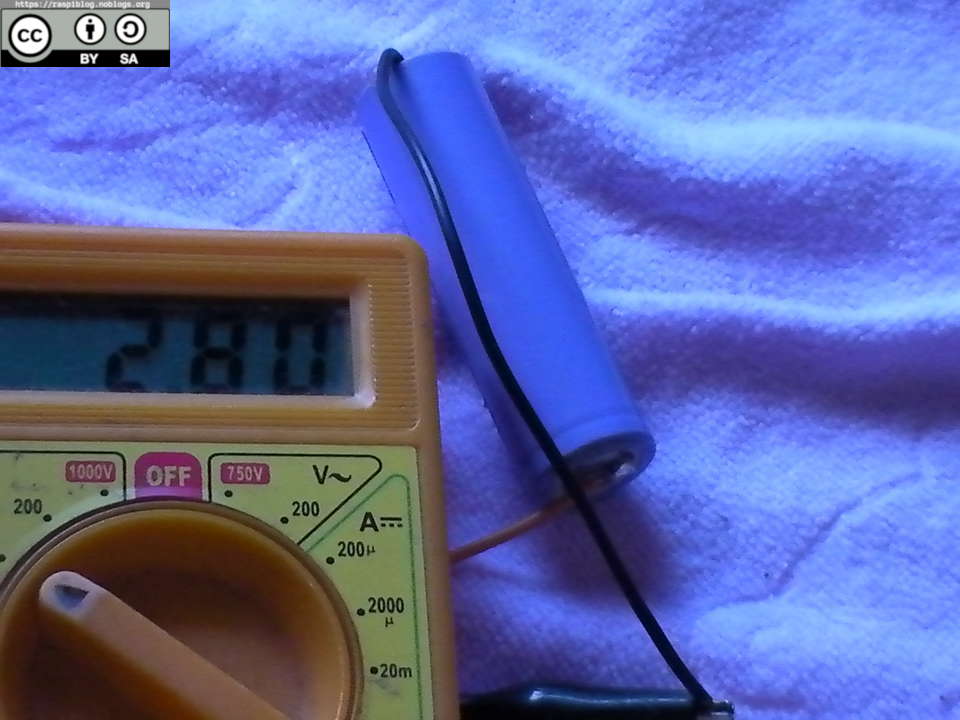
I bought a Powerbank that seems to dead from a Public Market in the Philippines it costs about PHP 35. I found some used 18650 batteries and bought them for PHP 20, the seller does not even know how to test these items. I brought my multimeter and tested the voltages of the batteries.
Only two of them have 2.8V the others are 0V (dead).
I tried charging the powerbank but it does not work, the Red LED does not light up and no current is transferred to the device. I pry the device open using a minus screw driver, and I was disappointed that there are no battery terminals. The 18650 battery is spot welded and soldered to the PCB of the powerbank.
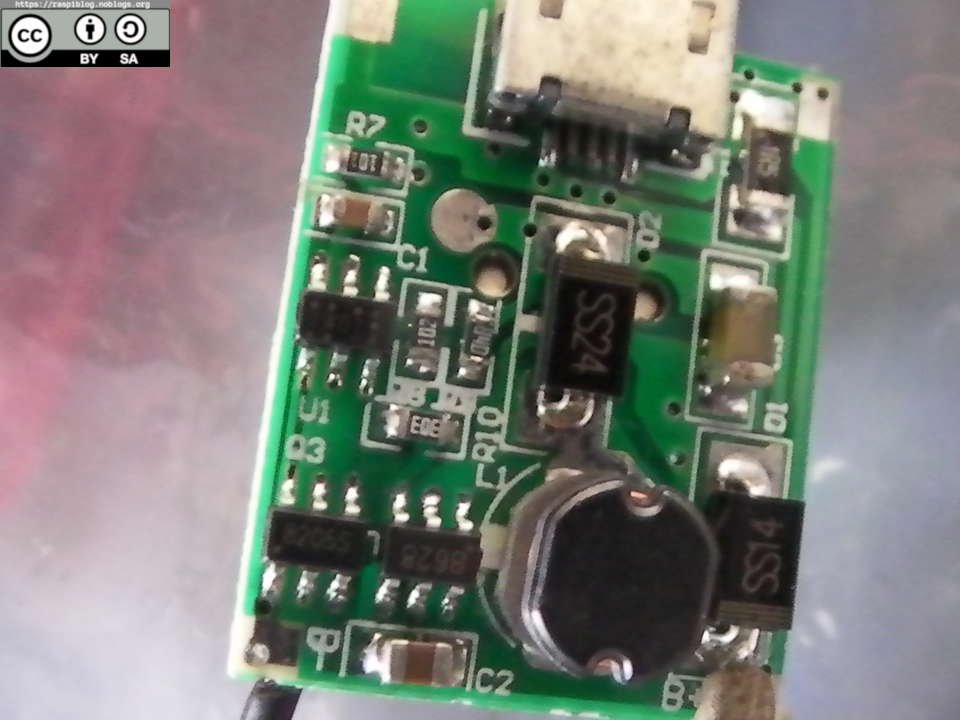

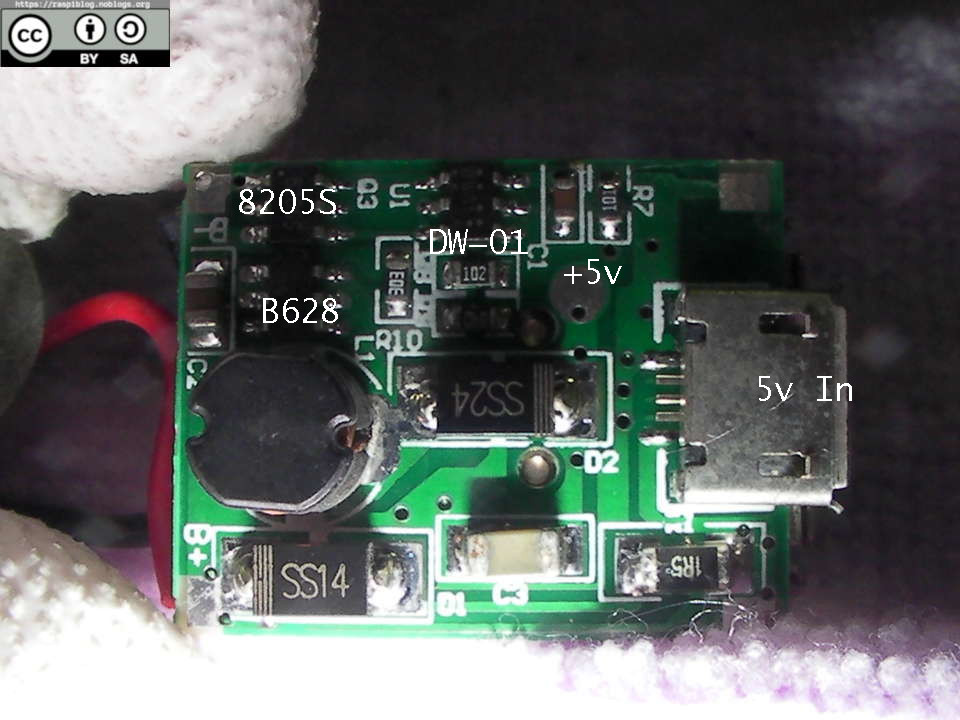
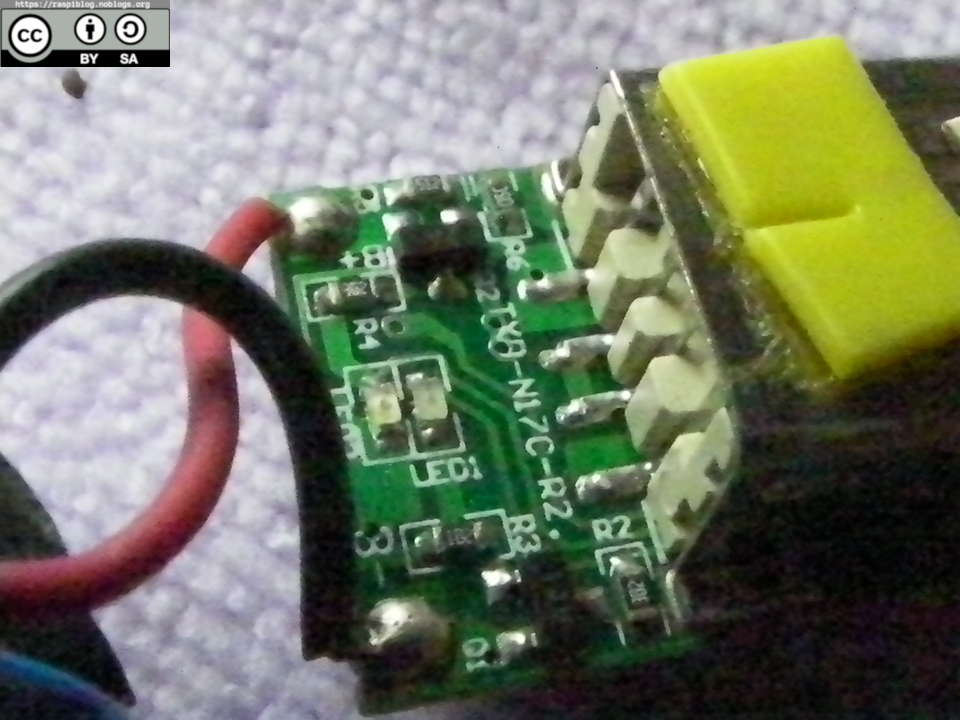
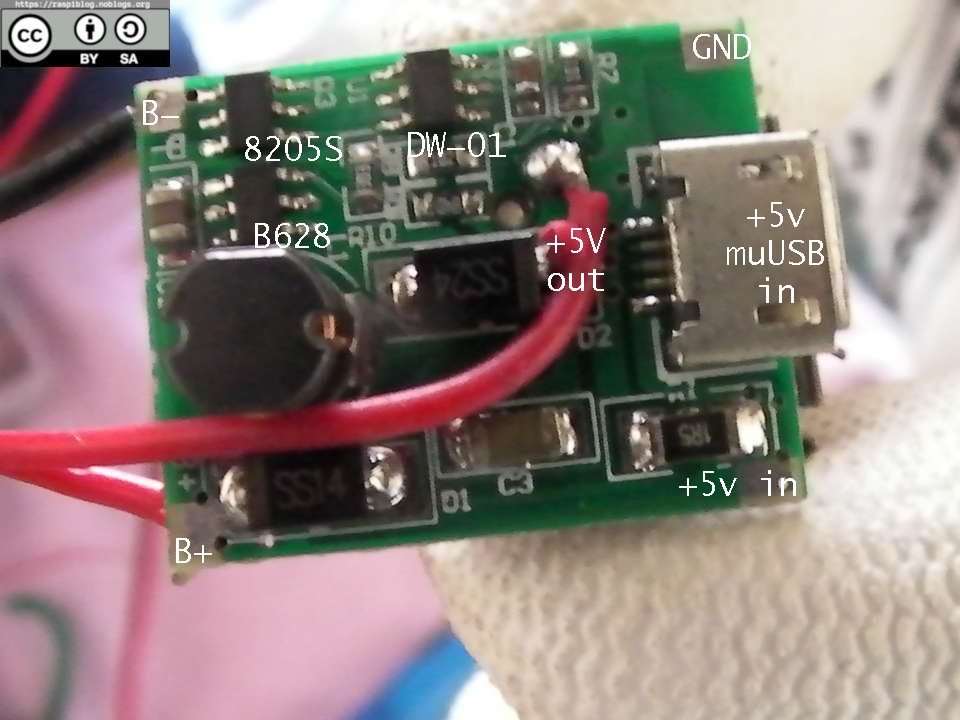
The PCB of the powerbank has the following chips: DW-01 (6-pin SOT-23 battery protection), 8205S (6-pin SOT-23 battery protection?) and B628 (6-pin SOT-23 step-up converter?) I have yet to find the datasheet for these chips.
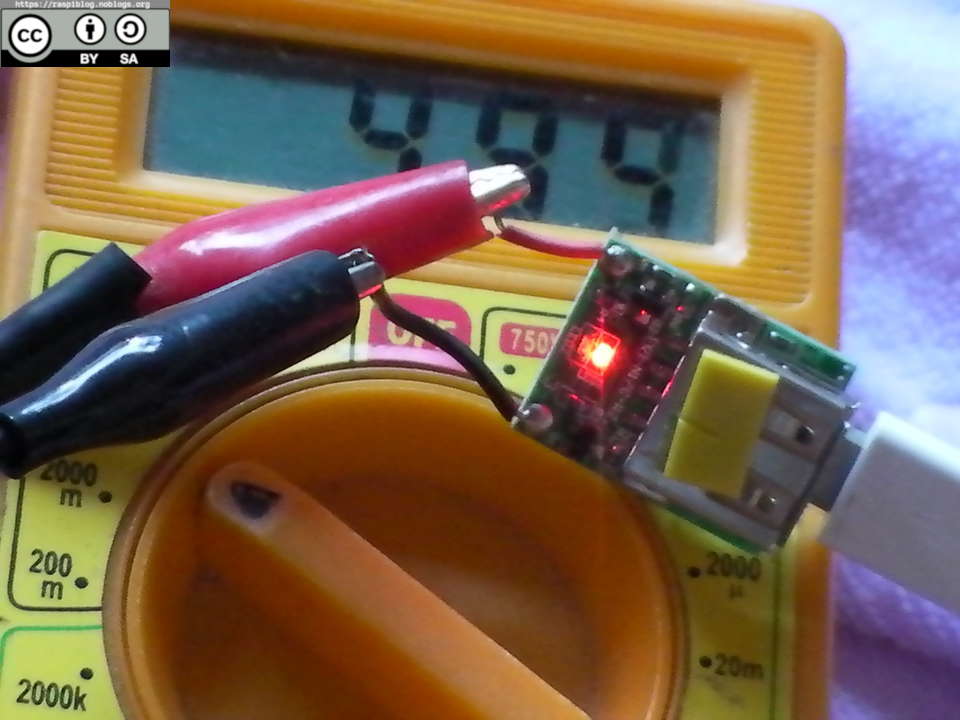
The open circuit BAT voltage.
The board has interesting test points, I have identified the +5v input (to avoid using microUSB port) and the +5v output (to avoid using the USB female port).
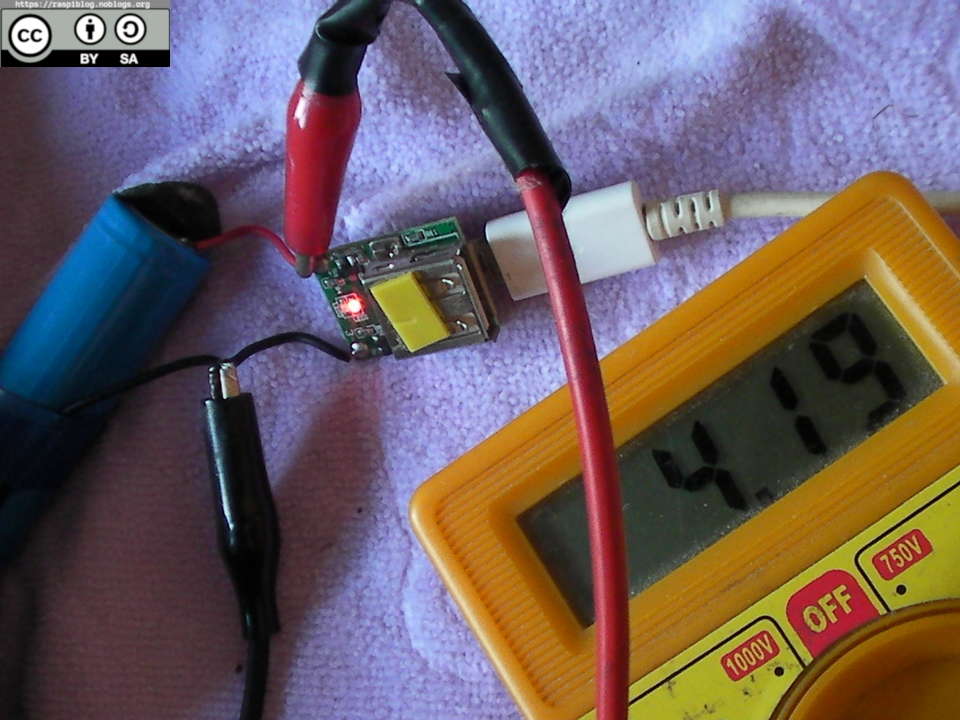
I disconnected the black wire of the battery to measure the current and applied some 5v input to the microUSB, and it worked the battery starts to charge. It appears that the DW-01 IC protection circuit disconnected the overdischarged battery from charging. This is because charging a 0V battery 18650 lithium ion can make it to explode! I charged the battery outside of my house, so just in case of an explosion.
The initial charging current is 0.90A (the resistance of the multimeter leads are not counted) then it goes down as the voltage of the battery recovers to 4.2V. The battery gets hot while charging!
I have tested the battery with a 10 W 10 ohm resistor connected as the load, and at about thirty minutes the battery gets warm and the 5V output drops. The battery voltage from 4.04V goes down to 3.00V. I think the battery cell lost it’s rated capacity because of the over discharge to 0V!
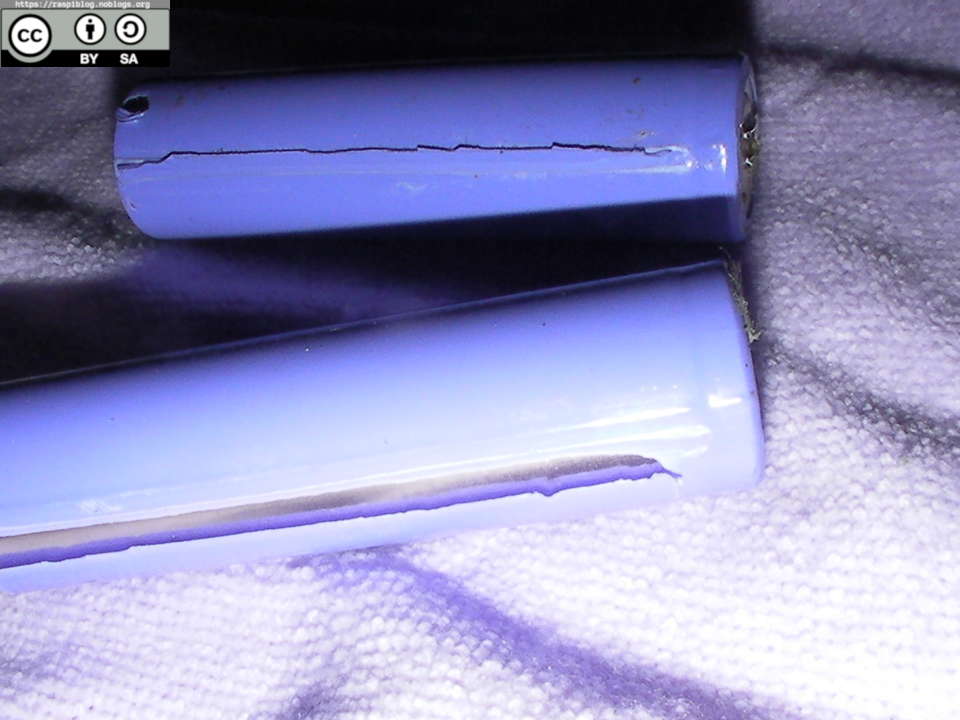
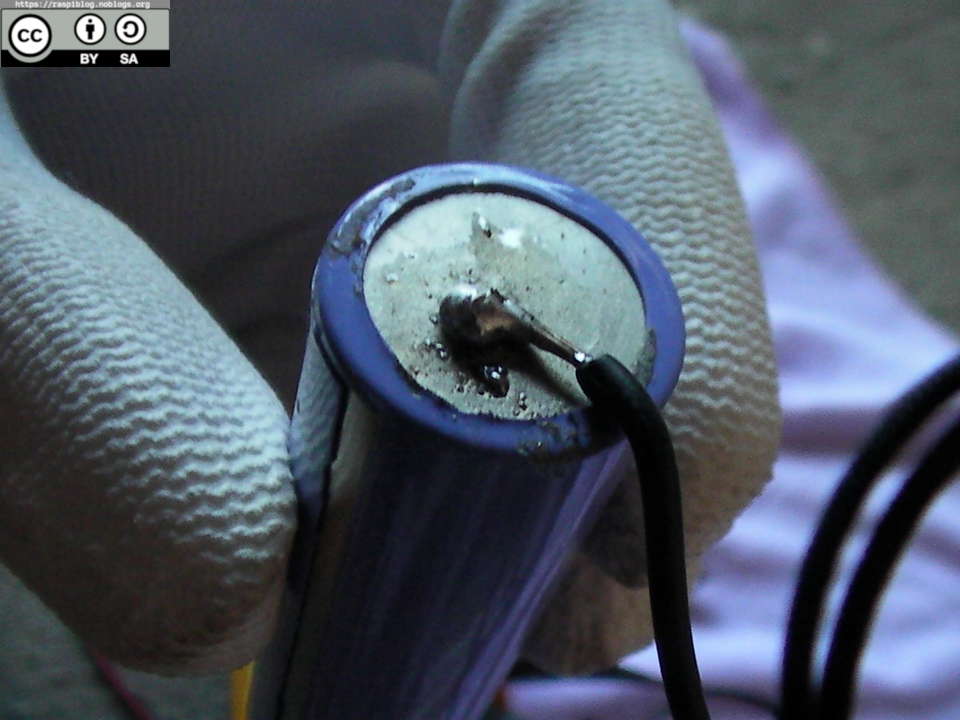
I also have tested one of the battery that was glued together, it looks like they came from a Powerbank or a Laptop Battery. You can see the spot welds still intact with the battery. I do not have any tool to spot weld, so I just soldered the wires to the batteries.
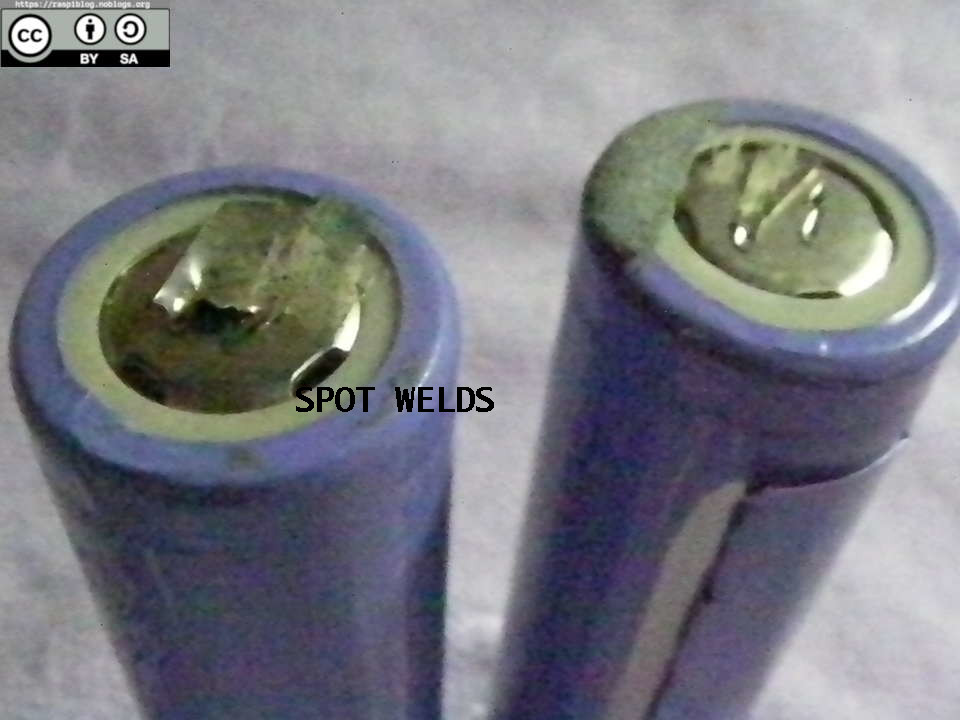
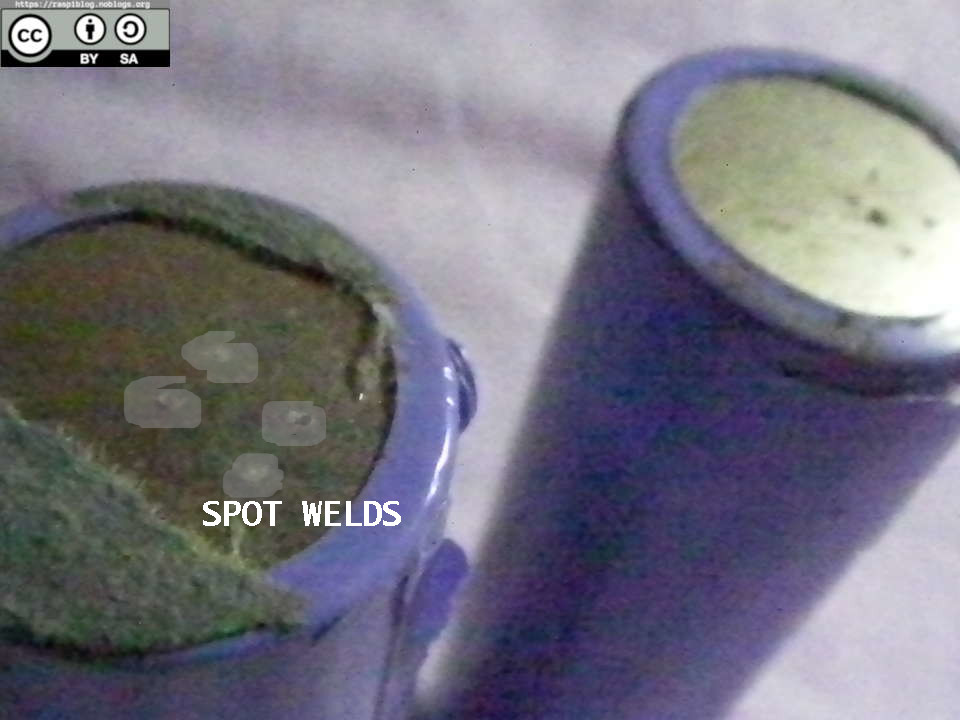
CAUTION: You must never solder a wire to a battery because it may shorten its life span (li-ion does not like very high temperature) it can also make them explode or catch fire! Spot welding is the best method, but for now I do not have any components to create a spot welder.
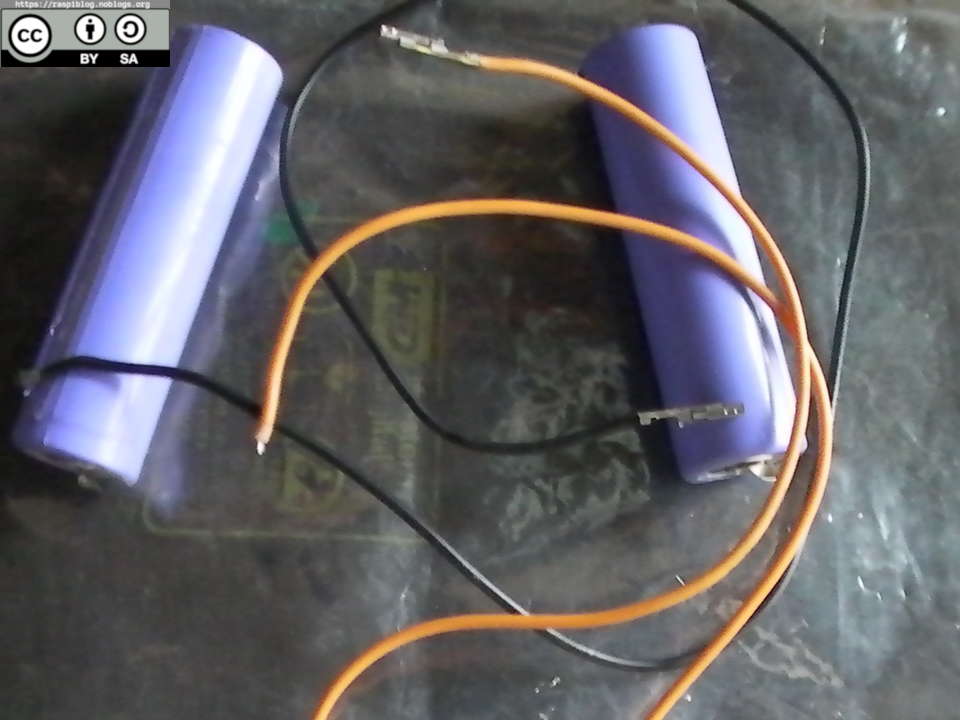
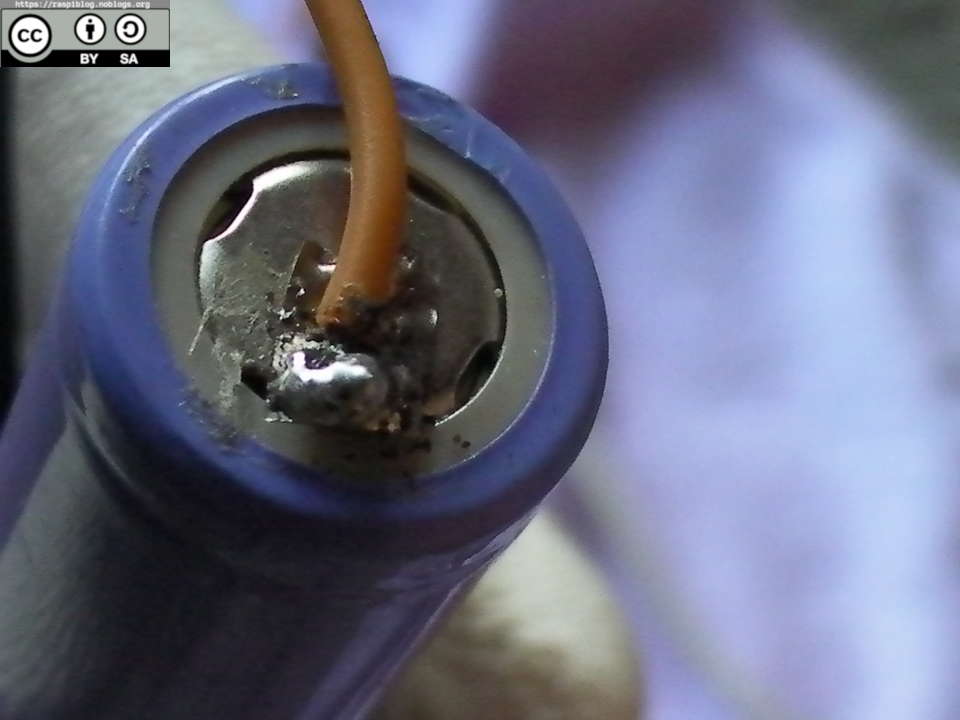
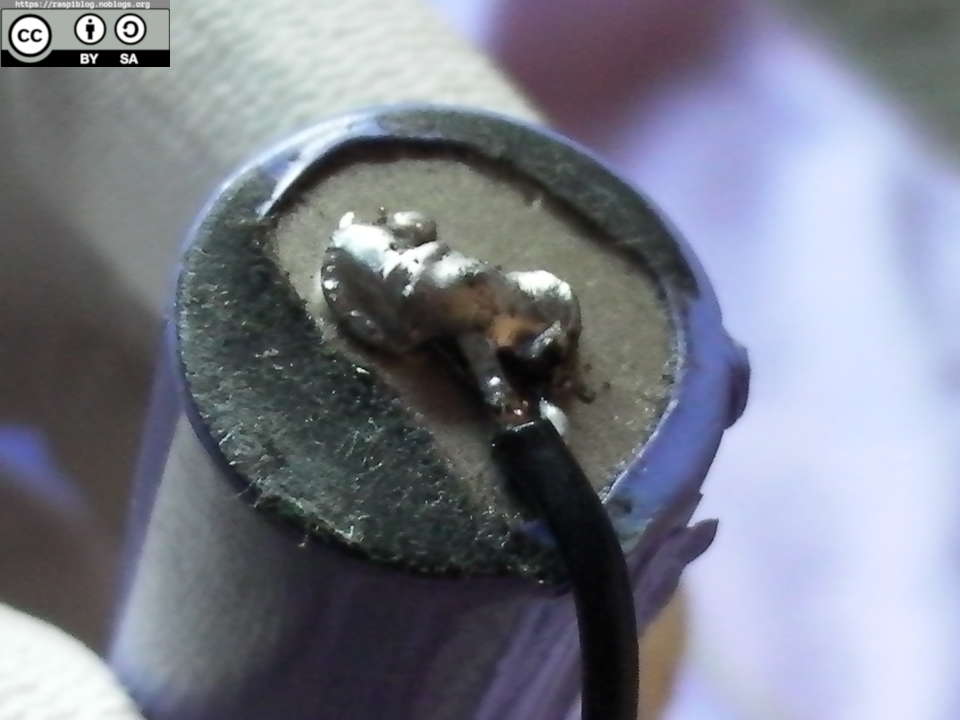
In soldering the wire to the battery (clean the terminals with an alcohol), you need a higher wattage of soldering iron. I used a 30W one and it worked somehow, a clean tip (mine is dirty), a flux and a good solder lead (mine is cheapo). It took me about thirty minutes trying to solder this to the battery, I only have less than ten seconds to solder the wire to the battery to avoid explosion! It may be wise to get a can of compressed air and apply it to the battery after soldering or just put the battery near a heatsink (do not short it out).
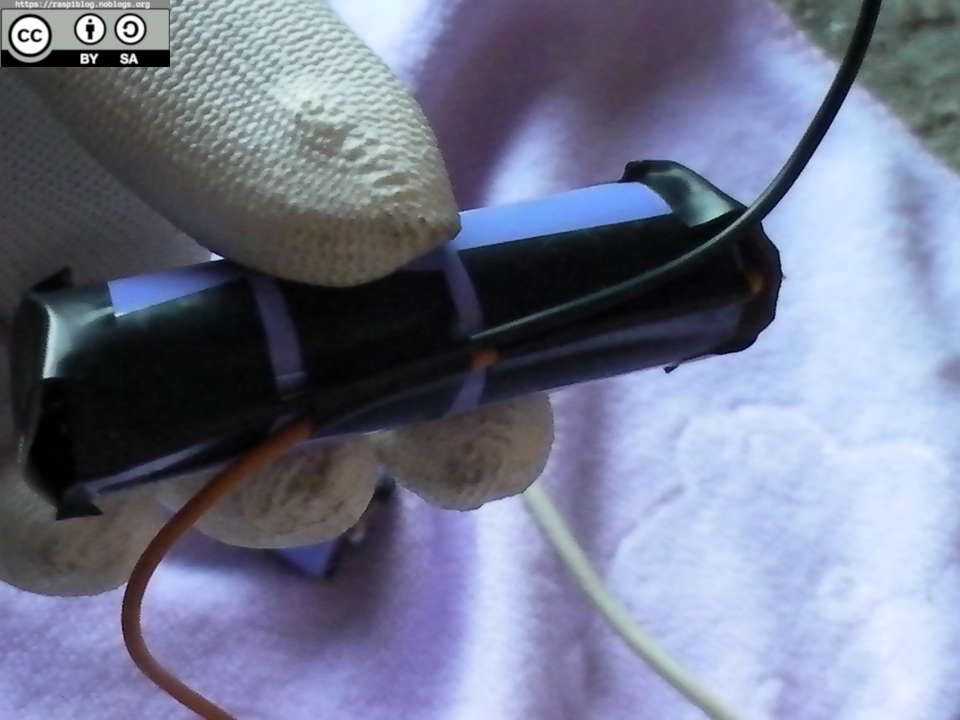
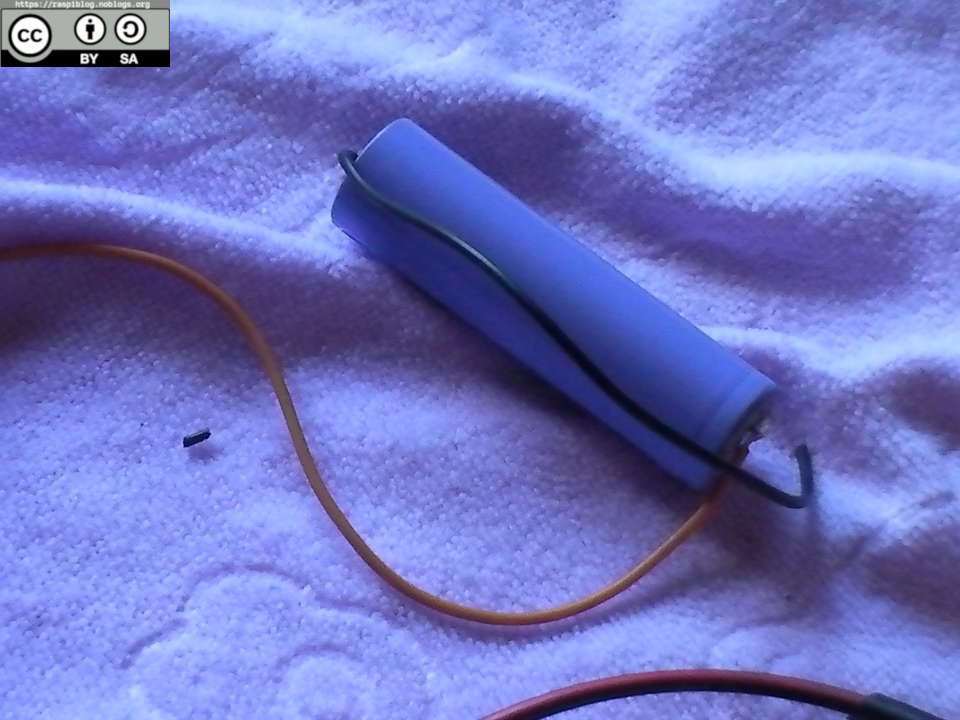


I have charged the batteries and it took about five hours each of them to completely reach 4.24V, when discharging a battery (one of the soldered one). I applied a 20 ohm 10W resistor as a load (5V load) and it took about five hours to make the safety circuit cut off the load.
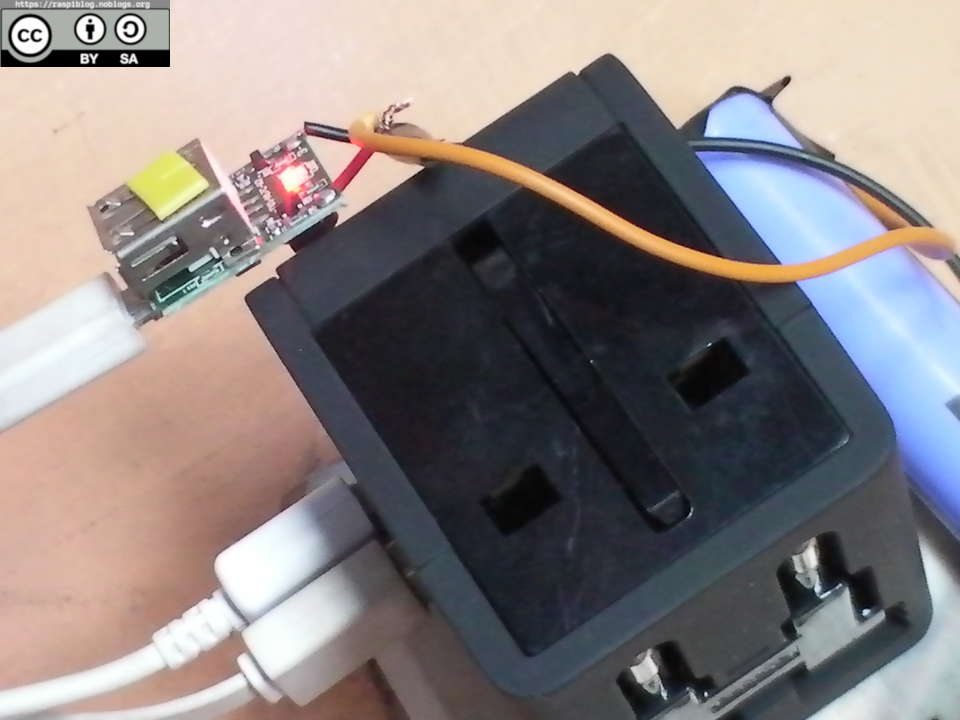

The 5V PSU I used to power the powerbank and charge the battery is the Multi-nation Travel Adapter that claims to output 5V 2.1A max.

Except where otherwise noted, this work is licensed under Creative Commons Attribution-ShareAlike 4.0 International License (http://creativecommons.org/licenses/by-sa/4.0/).
I hope that this post is useful to you, if you liked this post you may support me via Patreon or liberapay. Thank you for your support.